Mattea Makalea Mertz | D105 spring 2020

"Shining Eyes"

Untitled_Artwork (2)

Conceptualization

Process

Final

Assignment

This project challenged me to design a sign that captured the essence of me. The only requirement was that it had my name and that I was described through it. I struggled through my designs, mostly because i feel that there are many things that describe me. such as: the color purple, Disney, and Hawaii. i ended up brain-dumping every word that i could possibly think of to describe me onto a page. i helped me to organize my thoughts. and provided a base for conceptualization.

Conceptualization

" A Charmed LIfe"

I use the phrase “a charmed life” to describe my life. It means that i have pretty perfect life. i turned this idea of a ‘charm’ into a charm bracelet. it was my intention to fill the bracelet with charms of thing that describe me. i decided against this idea because i did not think it would read well on a plastic mold.

"Tea"s Bullet Journal"

Recently i have begun to keep a bullet journal of my life. I thought it would be a fun idea to convert it into a mold. I spent a lot of time creating a 3D model. It looked fantastic, but eventually i had to decide against the idea. It was much too complicated for the CNC machine and it would not have been as effective with laser cut pieces.

"Shining Eyes"

I really wanted something that encompassed the idea of “me”. I started looking into eyes. i loved the idea that you can see a what a person is thinking through their eyes. As i began to look into this idea more i began to fall more in love with it. once i found this concept, i just  had to figure out how exactly i wanted it to look.

Eyes are used to describe many things about a person, their happieness, and the way they wonder at the world. Some people even say that you can into a person through their eyes. The concept behind my piece encompasses all these phrases that describe the "sparkle in your eyes ".

ideation

Concept 1, Storyboard

For my first storyboard i planned out my bullet journal idea. I studied how it would look as a whole,  and how each individual aspect would look. Once i had a clear idea how the piece would look i began to plan how i would make it. i drew the CNC machine and the vacuum and how they would interact with each other. i realized, in drawing this piece, that the CNC machine would not be able to cut this out and it would not translate well on the laser cutter. After this i decided i needed to completely revamp my idea.

Concept 3, Concept Storyboard

In this storyboard i explored the concept of the eyes. i looked up phrases that use eyes to describe people. the more i read the more i began to develope my idea.

Concept 3, Design Storyboard

On this storyboard i explored the different aspects  of my design. i wanted to figure out exactly how it would look before i committed to cutting it out on the CNC machine.

Concept 3, Process Storyboard

In this storyboard i outlined the steps i would take to create my my mould and eventually how to vacuum form it.

Process

3D Solidworks

Solidworks 3D modeling was the best way to construct the bulk of my piece.

CNC Machine

I sent my solidworks file to the CNC machine and the next day i had my mould mostly done. The CNC machine cut it out perfectly.

Laser Cutter

i used the laser cutter to cut some of the finer details that would have gotten lost in the CNC machine. 

Final Touches

The final touches before vacuum forming are: add holes for the air to flow through. This creates tighter seams. And lastly drafting the edges so it can be removed from the mold easier.

Vacuum Forming to a Mold

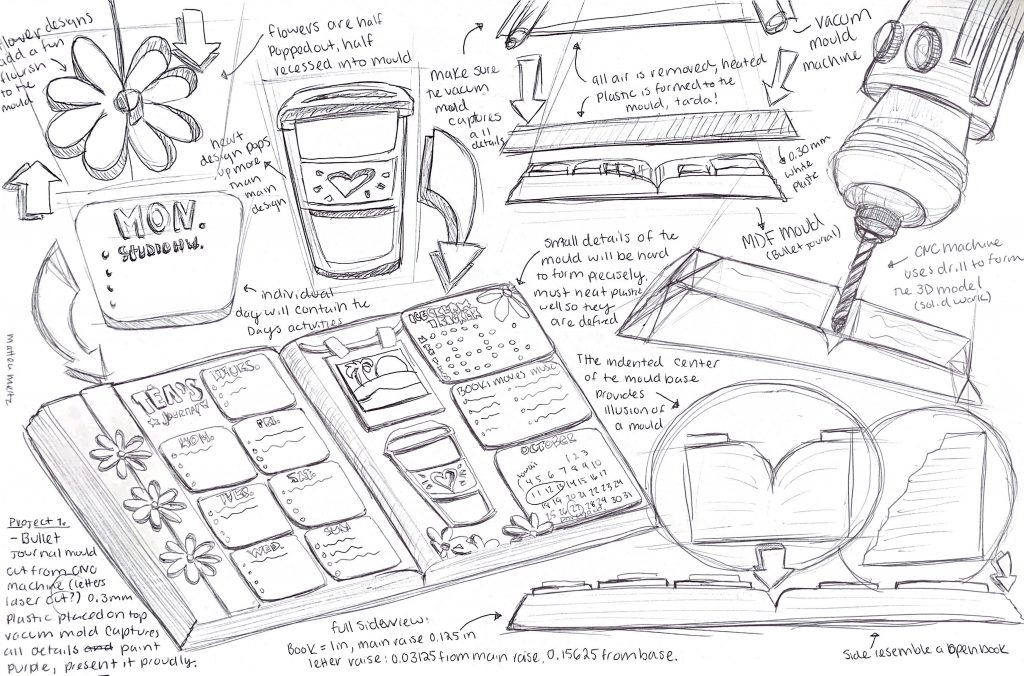
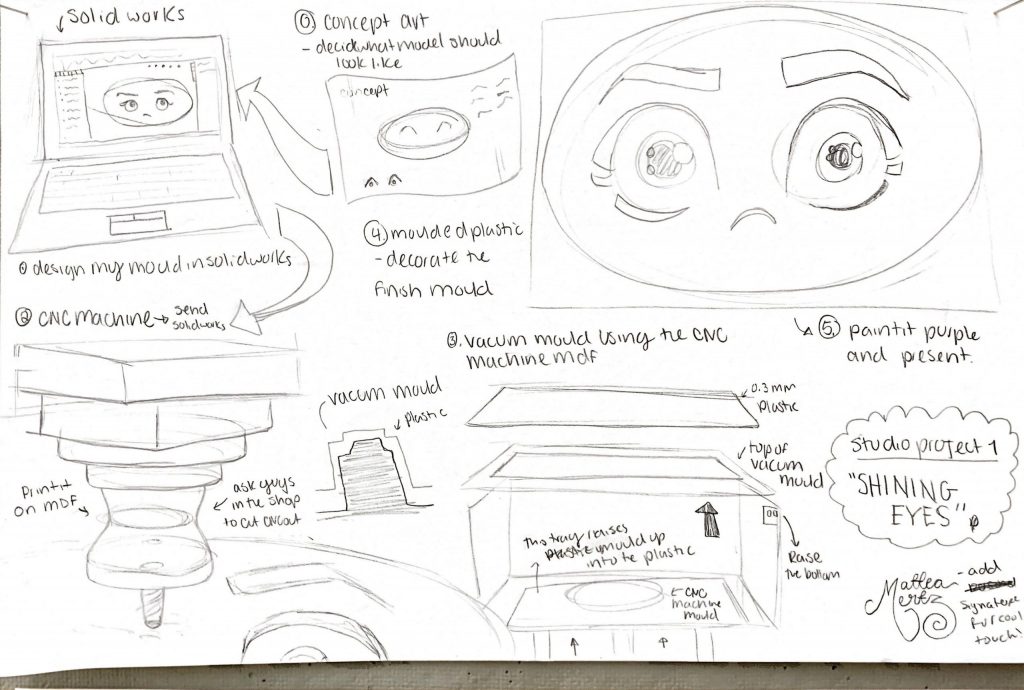
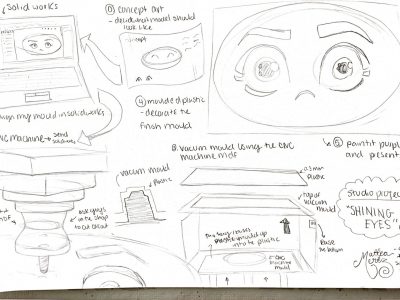
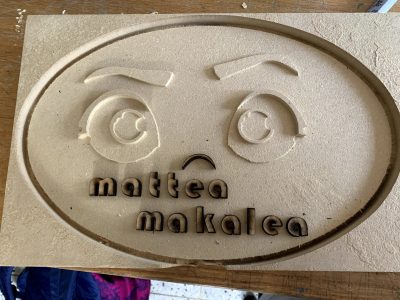
1. Place mold into the vacuum form machine and move the table down.

2. Lay plastic over the hole and secure in place.

3. Move heater over the plastic and allow it to heat until approximately 260*.

4. Once plastic is heated, roll the heater all the way to the back of the machine.

5. Immediately press buttons located on the side of the machine. 

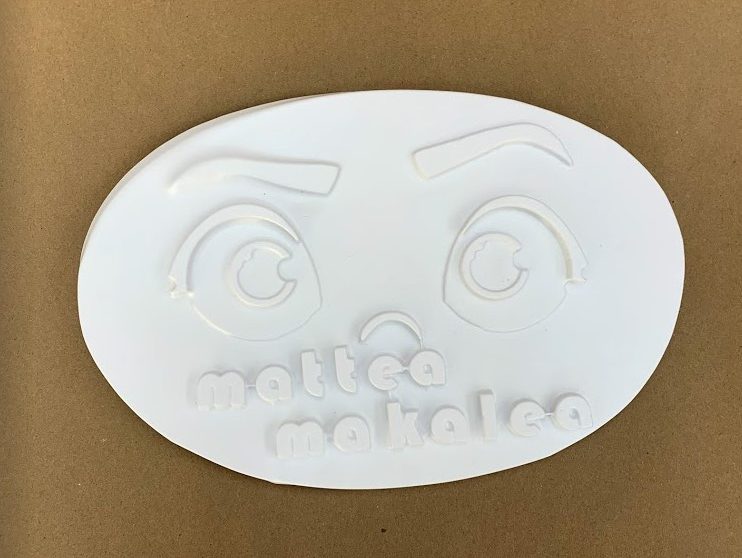
6. Once the table has risen and plastic has been vacuumed, allow to cool completely.

7. Puff air into the piece, then gently remove from machine.

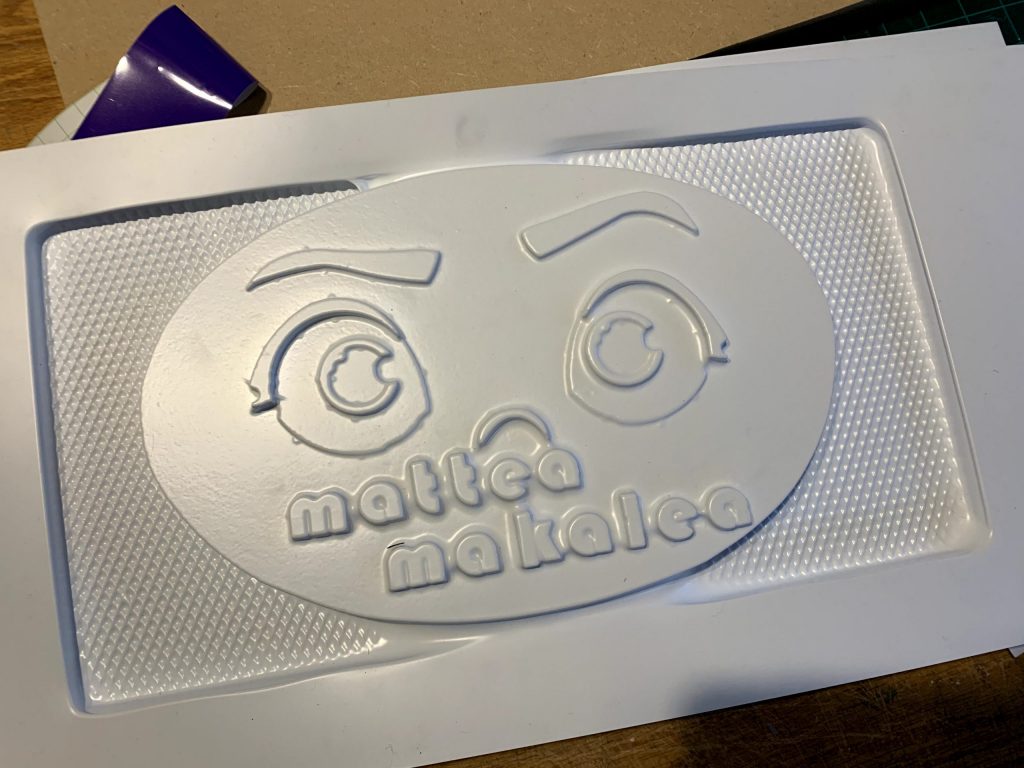
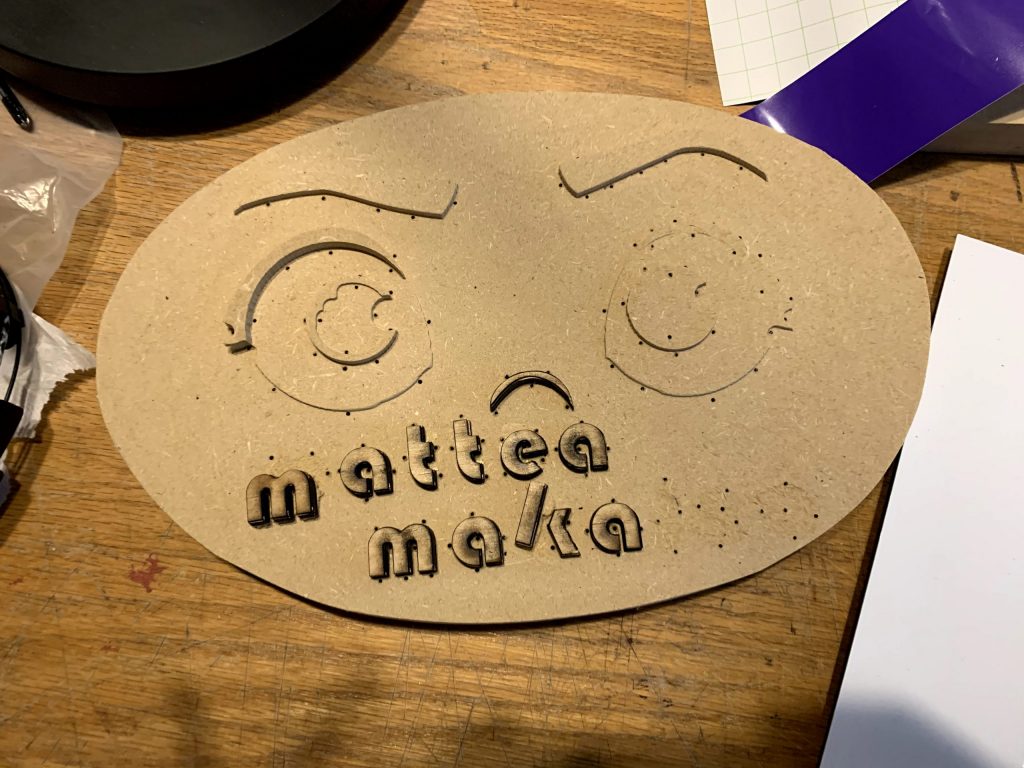
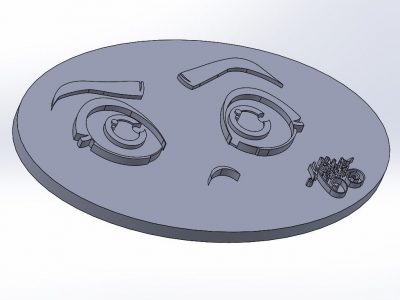
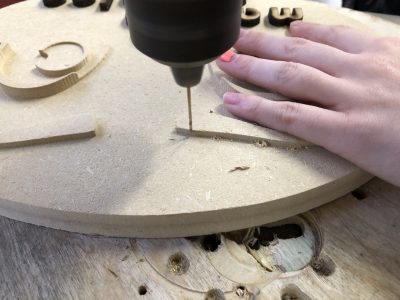
8. Extract the mold from the molded plastic.

DO NOT forget to draft the edges of your mold!

Final Comments

My project flowed pretty smoothly from start to finish. i learned so much about the various types of machinery that i used. The hardest part was the varibles i every step of the process. i had no idea what the CNC machine was capable of doing, and i had no idea how the vacuum former worked. Overall I’m very happy with my project.