TOPOGRAPHIC TAG

By: Sarah Lewis

Sign Project | Jan.31, 2020

MY INSPRIATION

Mountains

color

Paintings

Paul-21-512

Skiing

soccer

Soccer

dog--v2

Dog

travels-37de94b1d4f910add9a6a92325aef44a

Travelling

FOCAL POINTS

ppdot copy

My first intuition was to incorporate my love for hiking and the mountains on my sign. One of the best hikes, and tallest peaks where I live, in Asheville is Mt. Pisgah.  For my model I chose a topographic map modeled after Pisgah to emphasize its magnitude. 

mountians sketch (2)
ppdot copy

The next element of my design was a compass to coordinate with the topographic map. I placed my initial on the top and rather than have arrows on the X & Y axis I substituted a ski and a paintbrush. Below I included the images that I used to help build my Solidworks file. 

ski and paintbrush
ppdot copy

The third and final aspect of my design is a travel bag tag. I needed to pick my base for my mountain and compass, and the bag tag is a fun shape and works functionally to hang up my sign. I really enjoy traveling and a unique bag tag can make all the difference while spotting your luggage! 

bag tag

Sketches

Construction

Solidworks Files

I chose to use Solidworks to construct my models so that way they could be sent to the CNC machine. I used 3 different models for my project. While designing these models I had to keep in mind the next steps of my process for making the project. 

The draft on my bag tag is important to have because it is the base of of my project and that determines how easily I can remove my mold from the vacuum sealed plastic. I was also careful to recognize the shape of my topographic map, making sure that the height between levels was not too high and that the curves would not make any pinches in the plastic.  

The compass piece of my project was one of the more difficult parts to make in Solidworks. I first created a ski and paintbrush separately; for both of these I inserted a reference image from the internet to help get the correct shape. Then I made the circle piece of the compass and added my initial on the top, I used the fillet tool to have a curve along the edge of the circle to avoid any pinching of the plastic. With the 3 parts I made an assembly to combine them together. 

The CNC Machine

CNC stands for “Computer Numeric Control”. The machine is linked to a computer and it’s software data. The machine’s 3 dimensional cuts and movements are dictated by the computer software. 

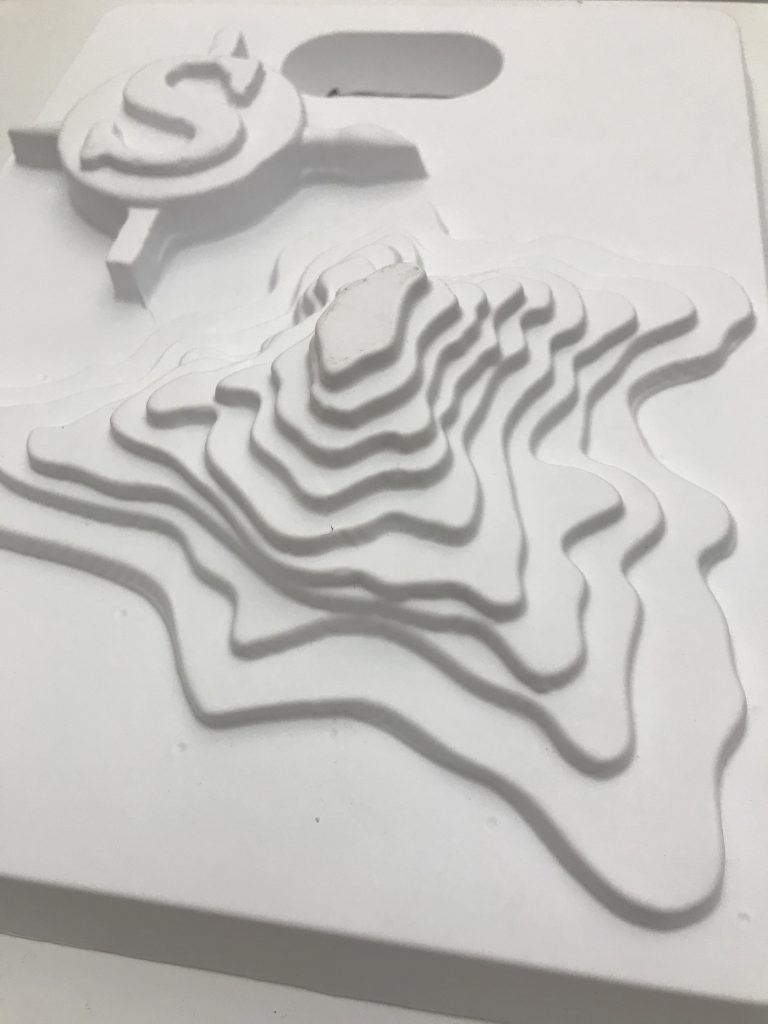
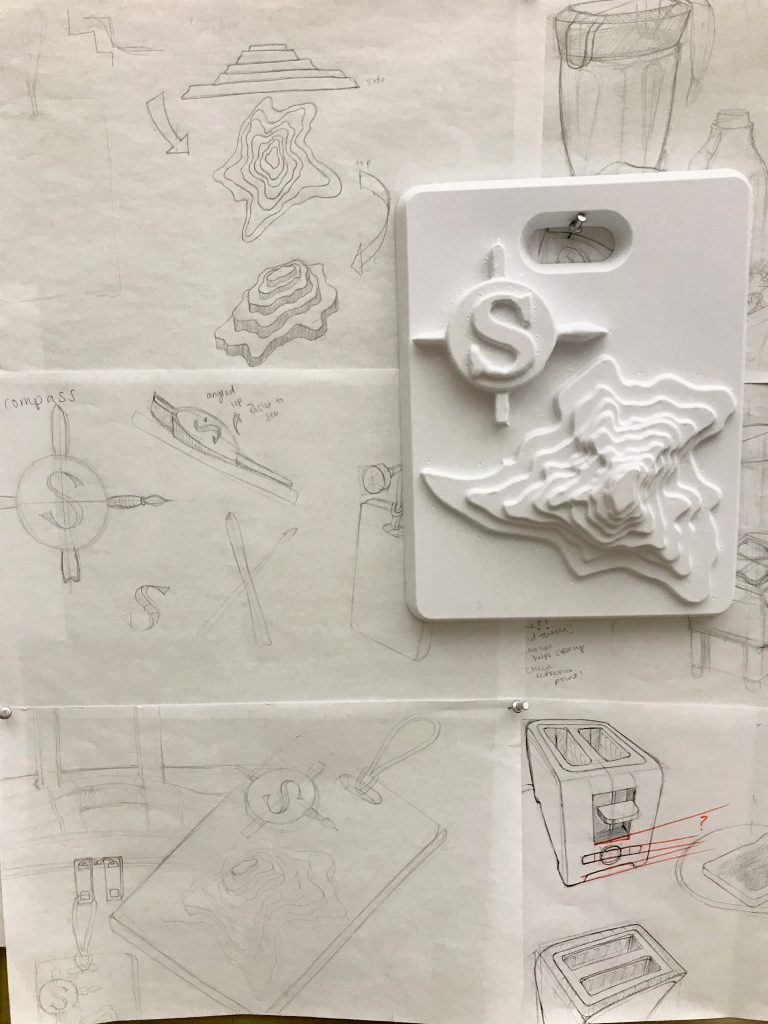
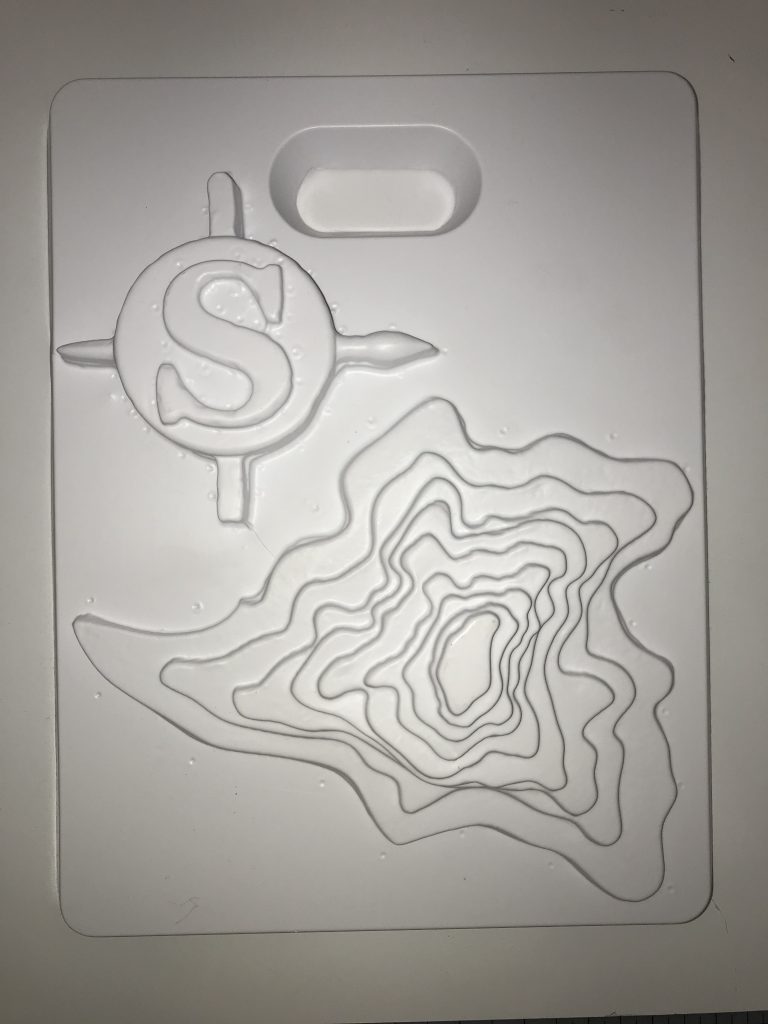
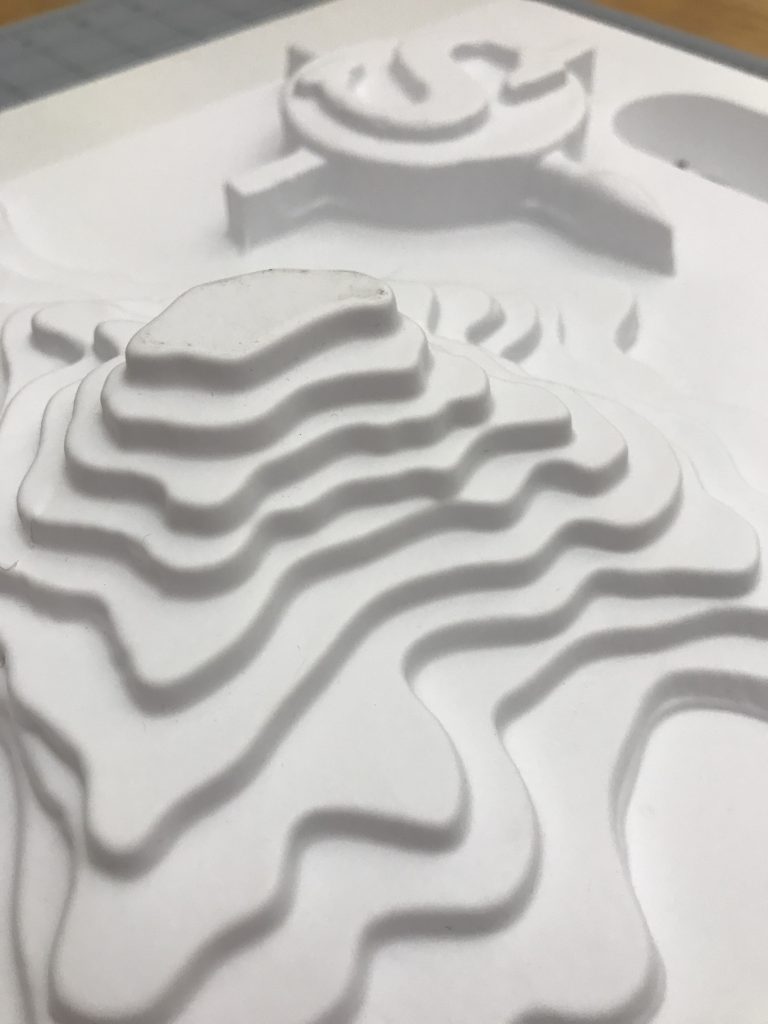
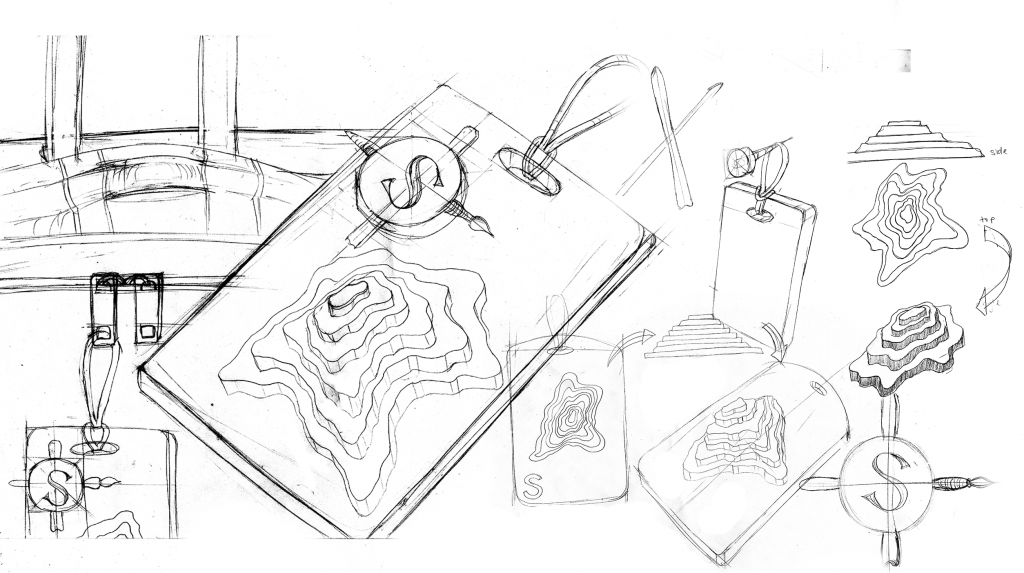
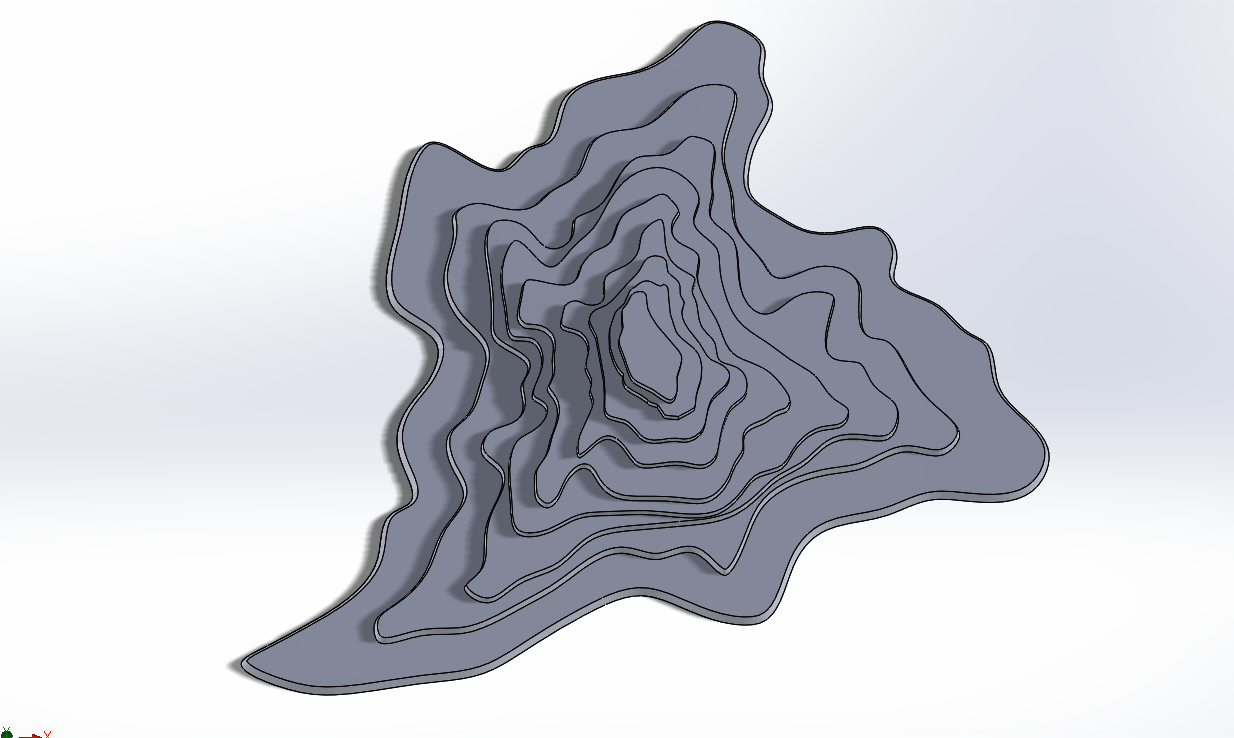
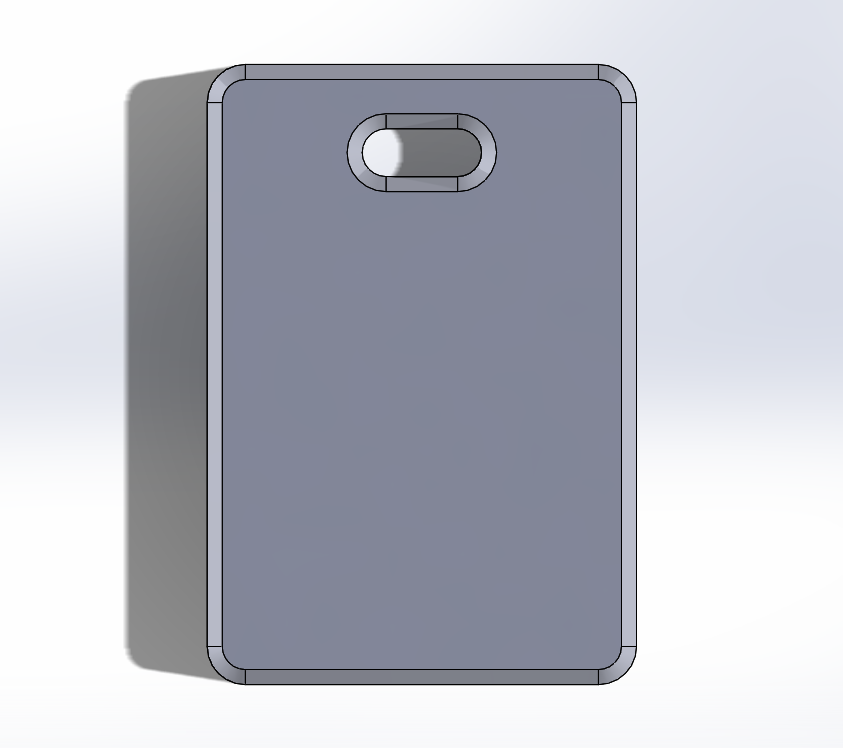
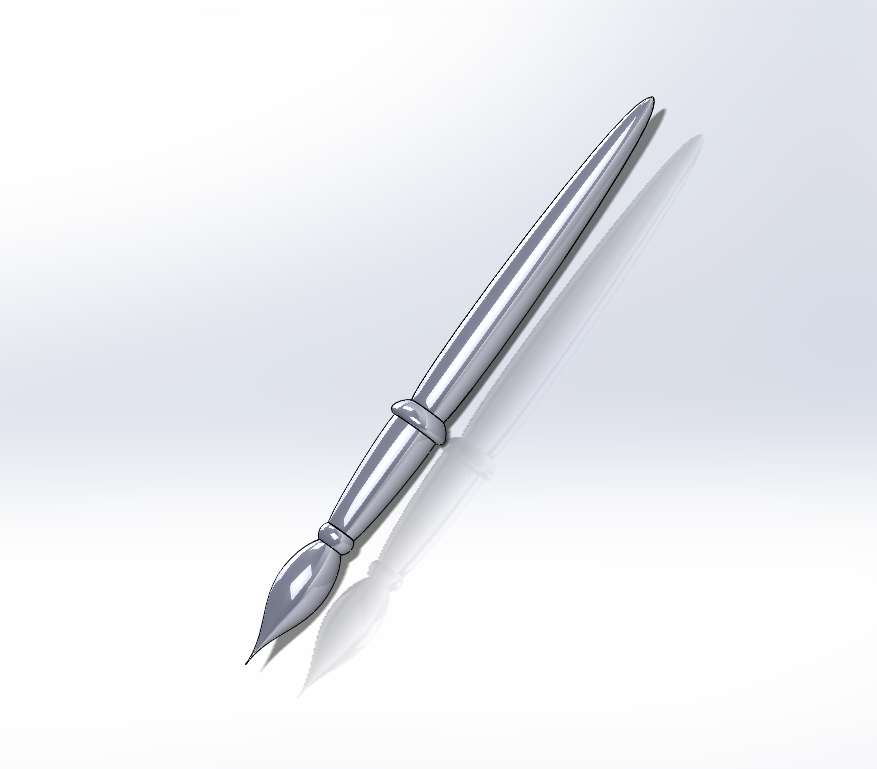
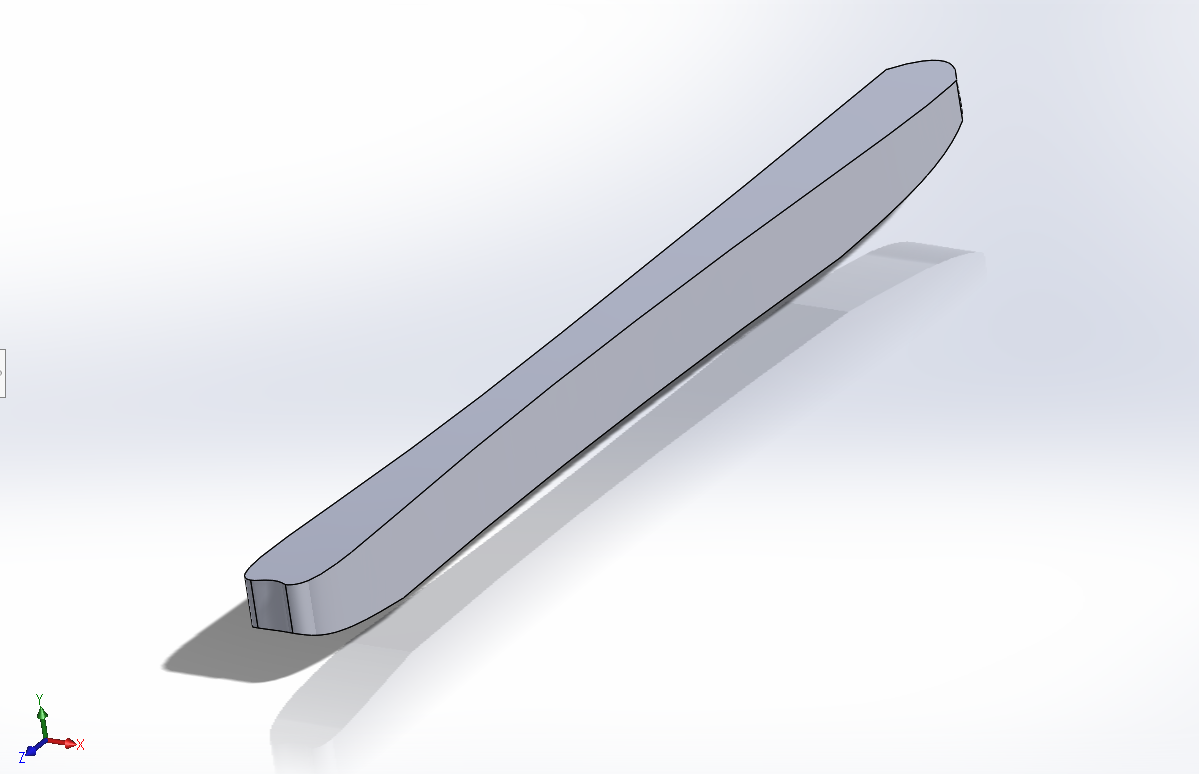
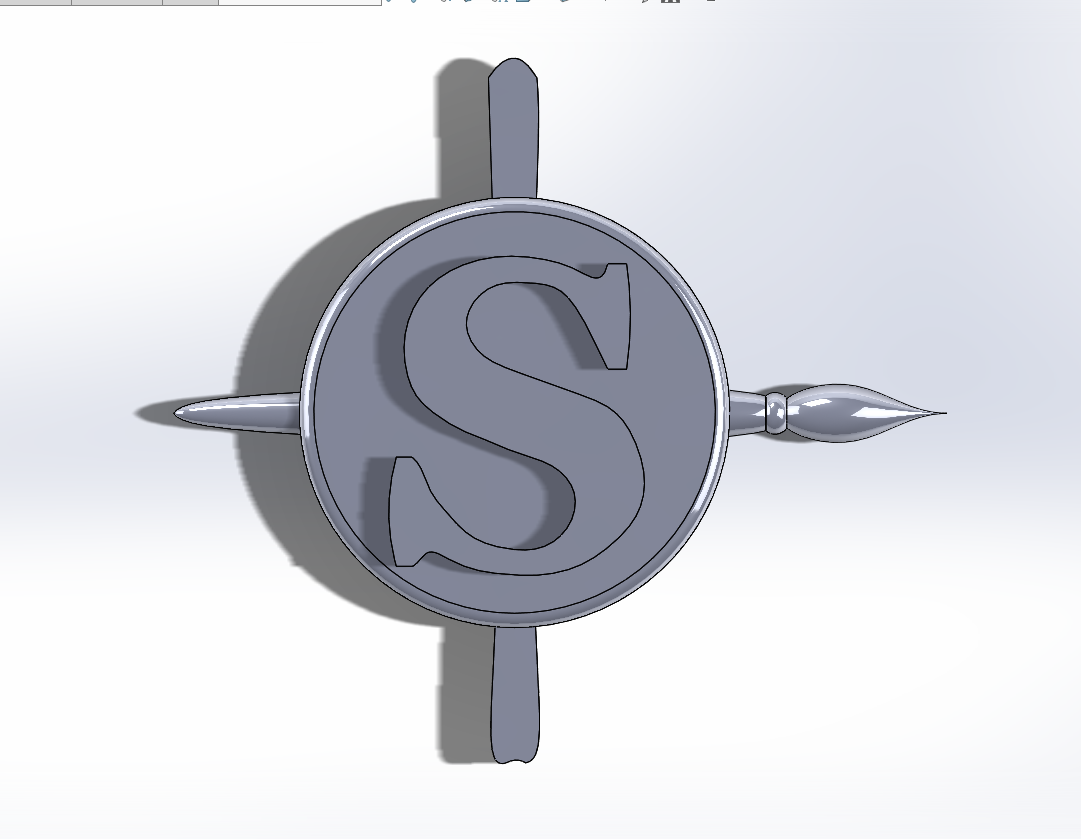
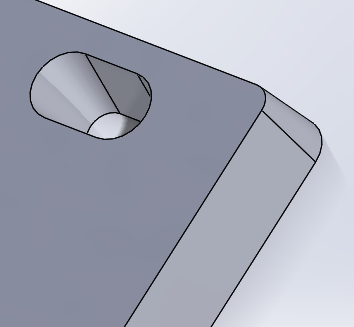
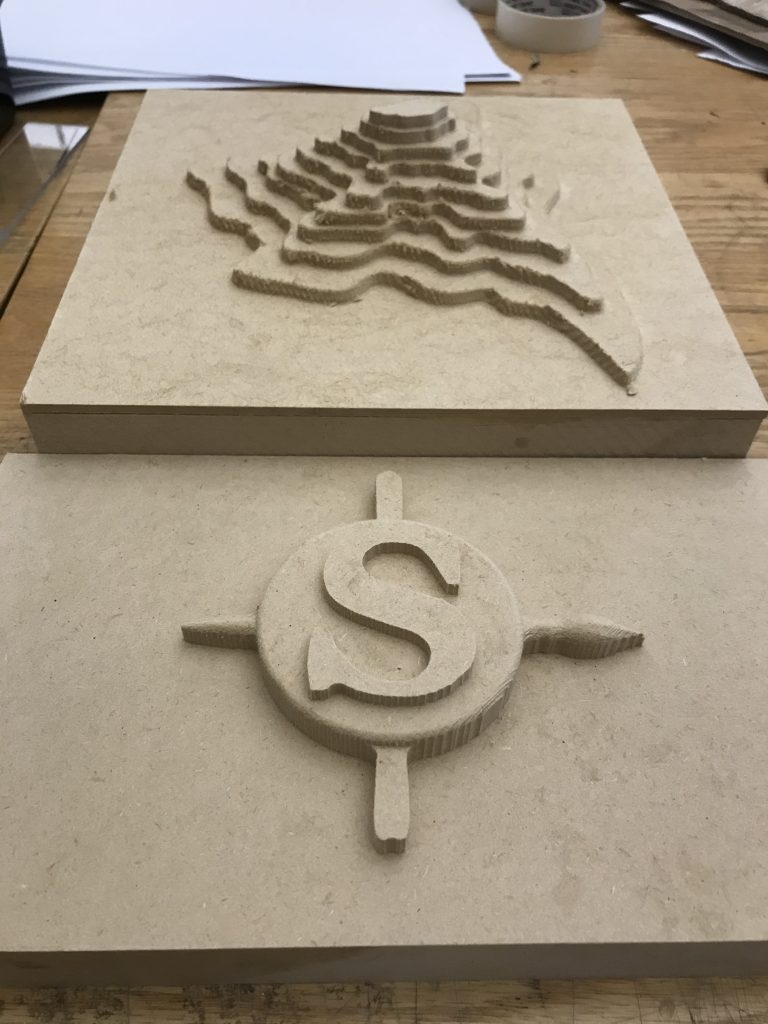
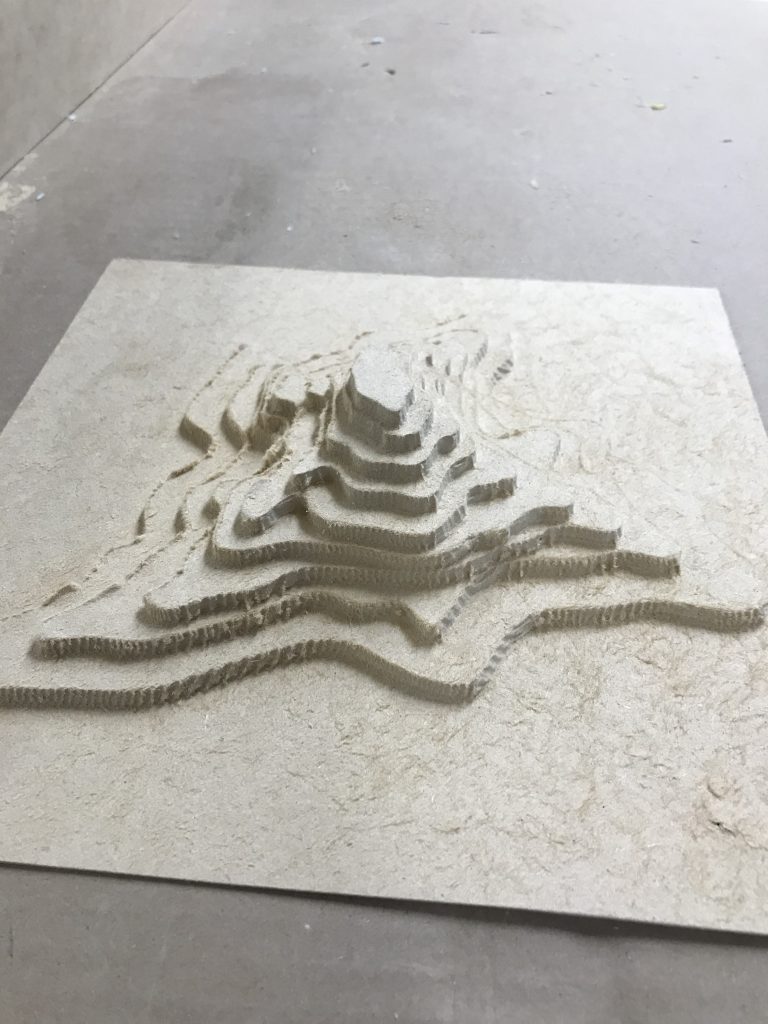
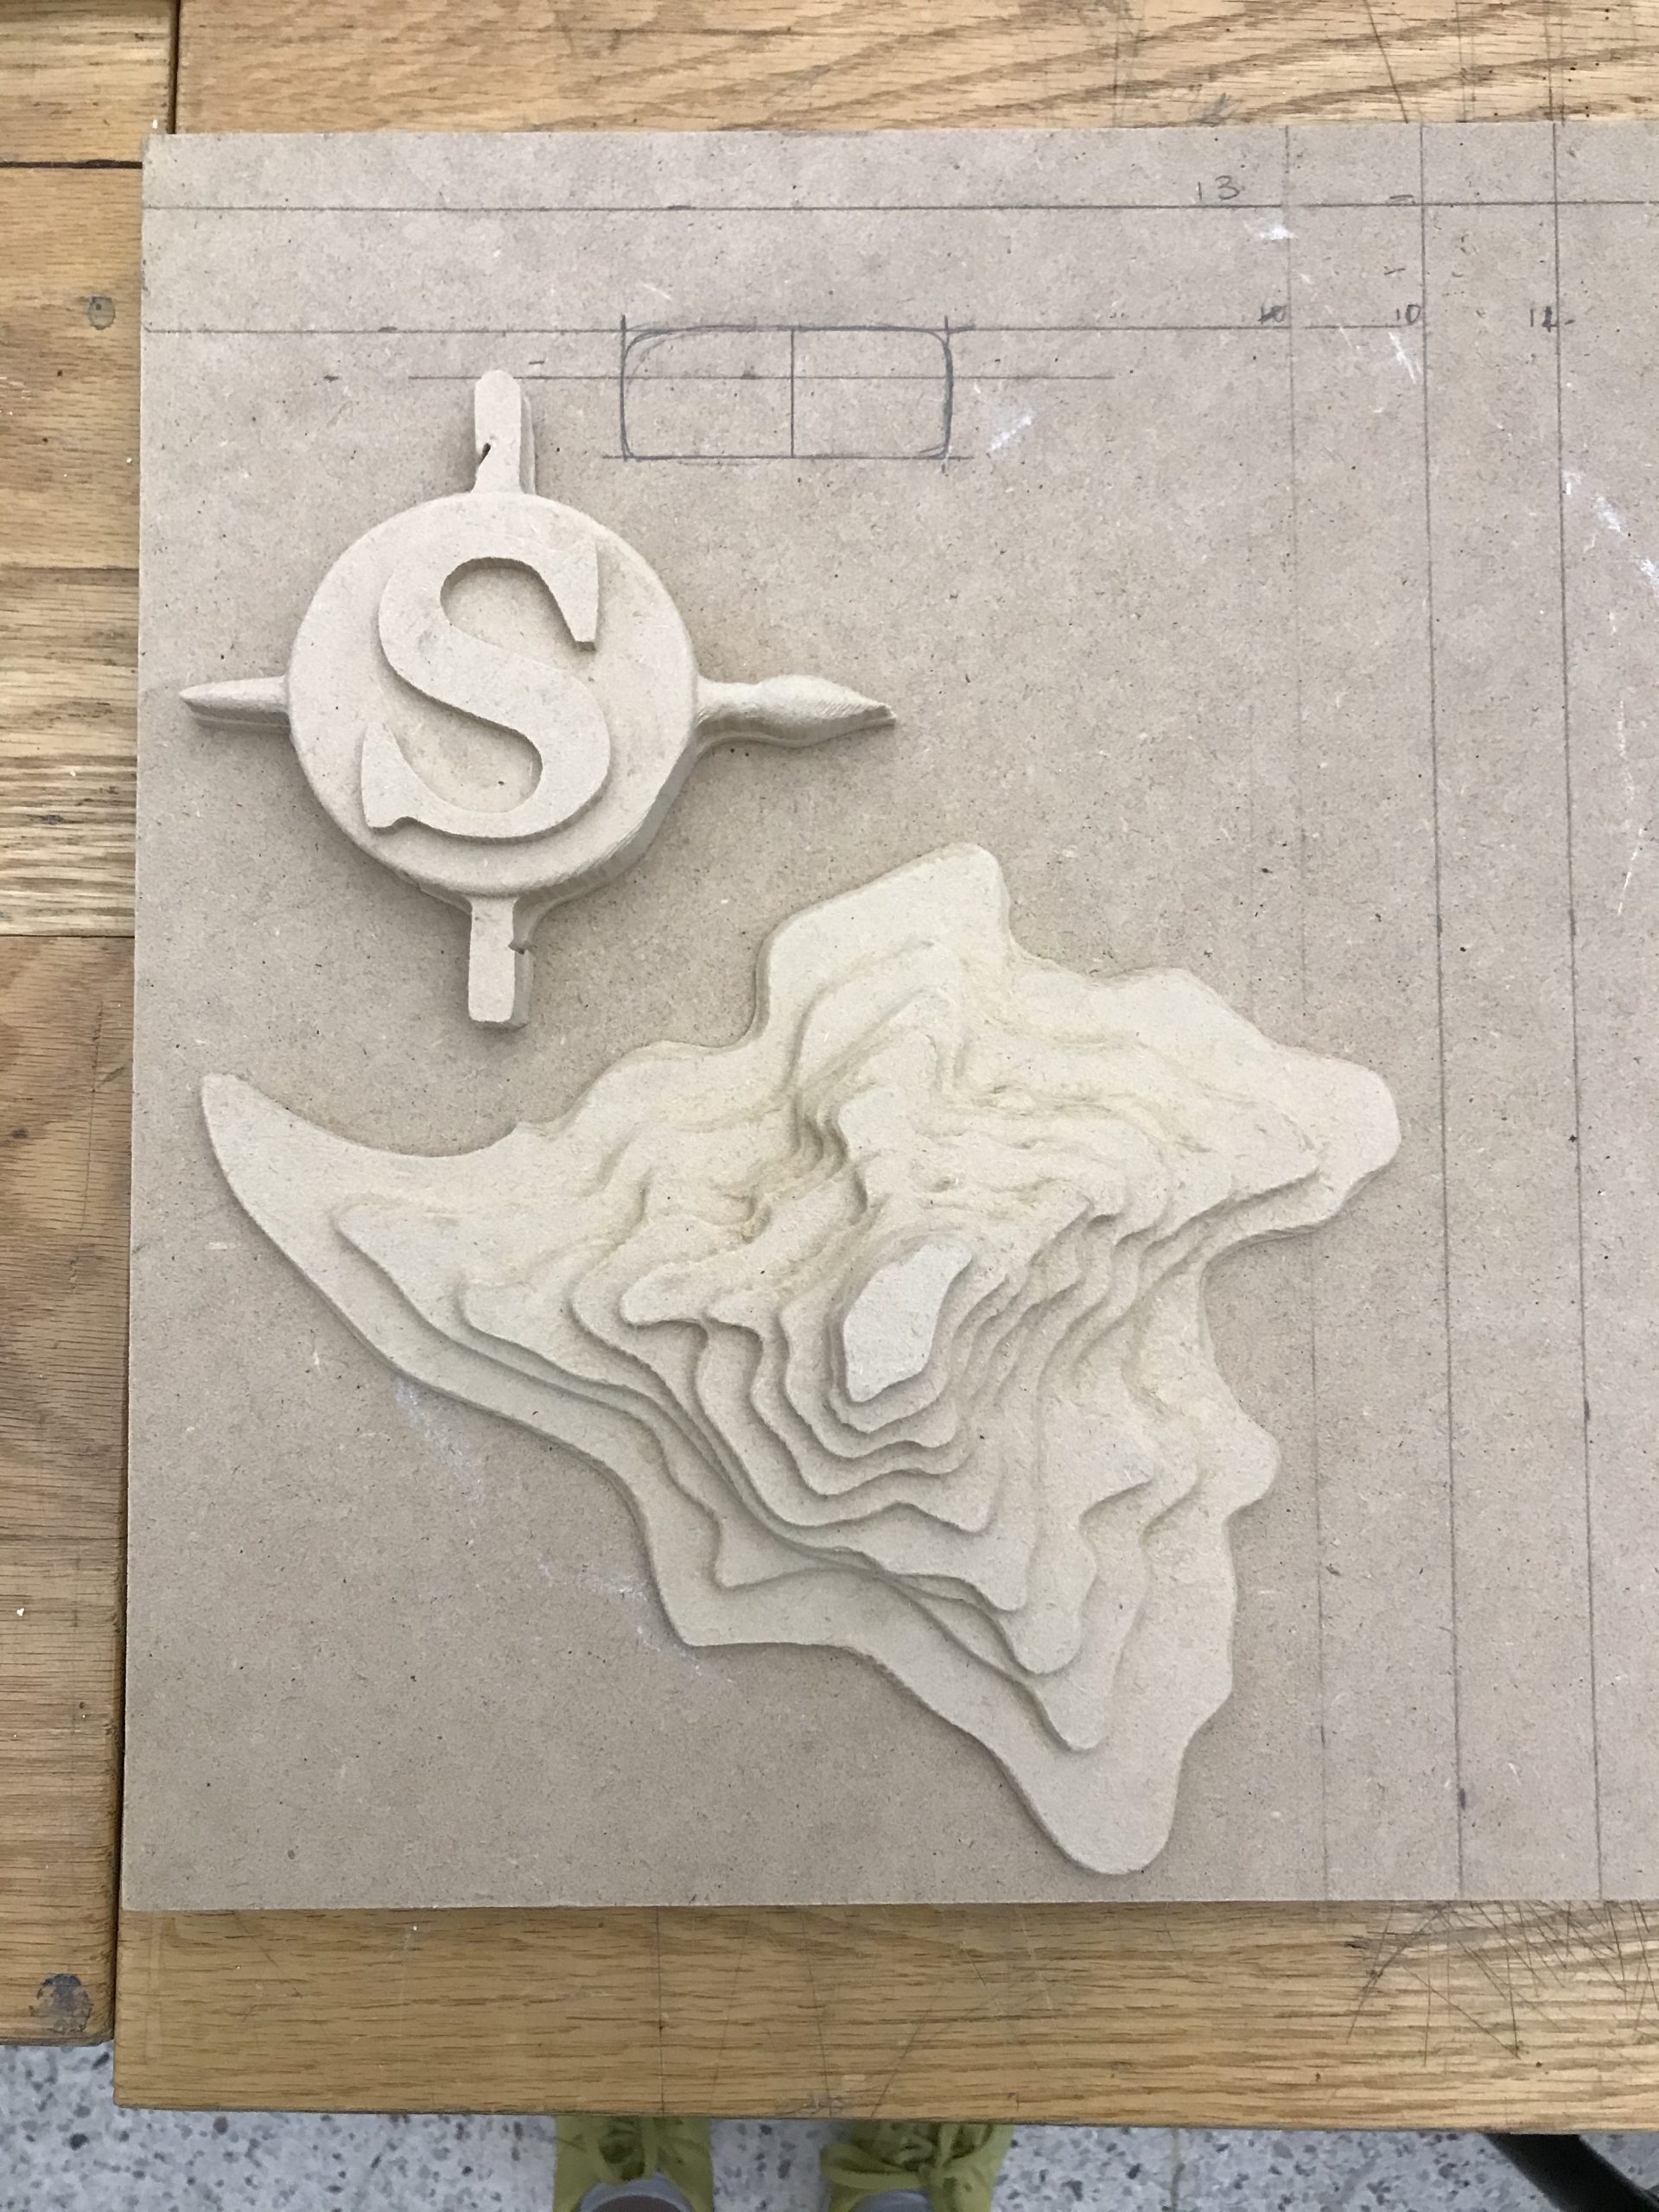
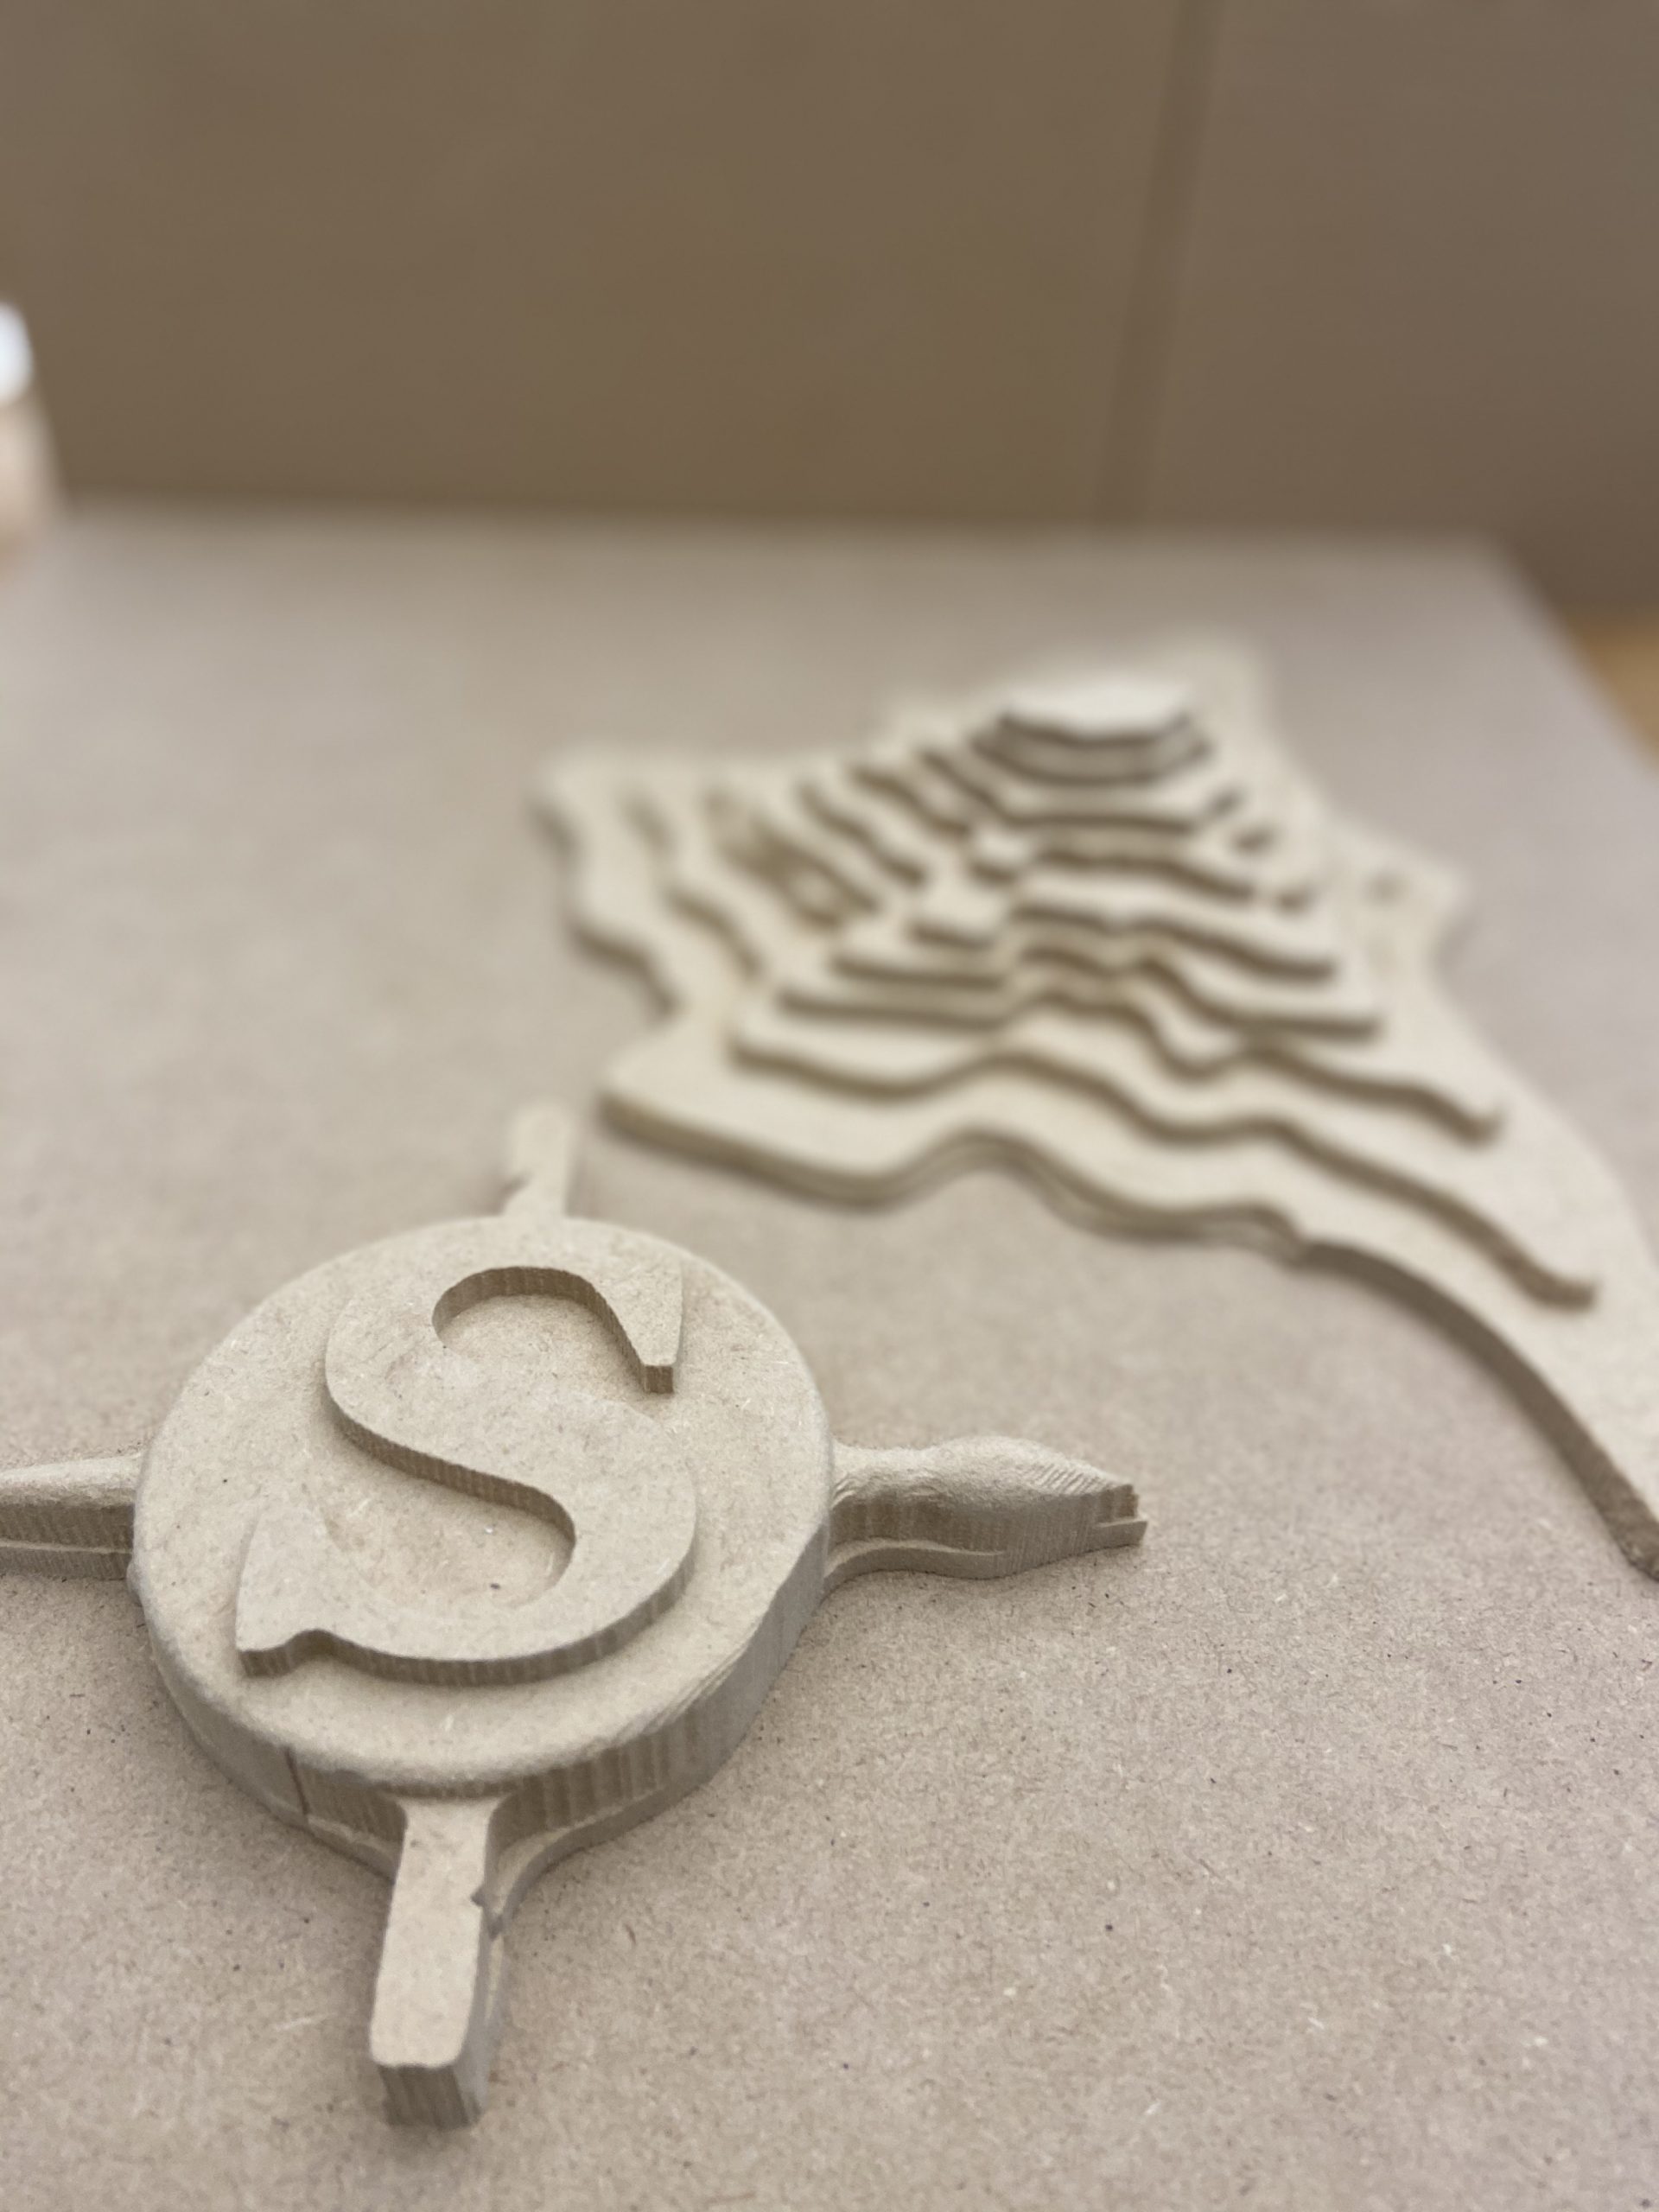
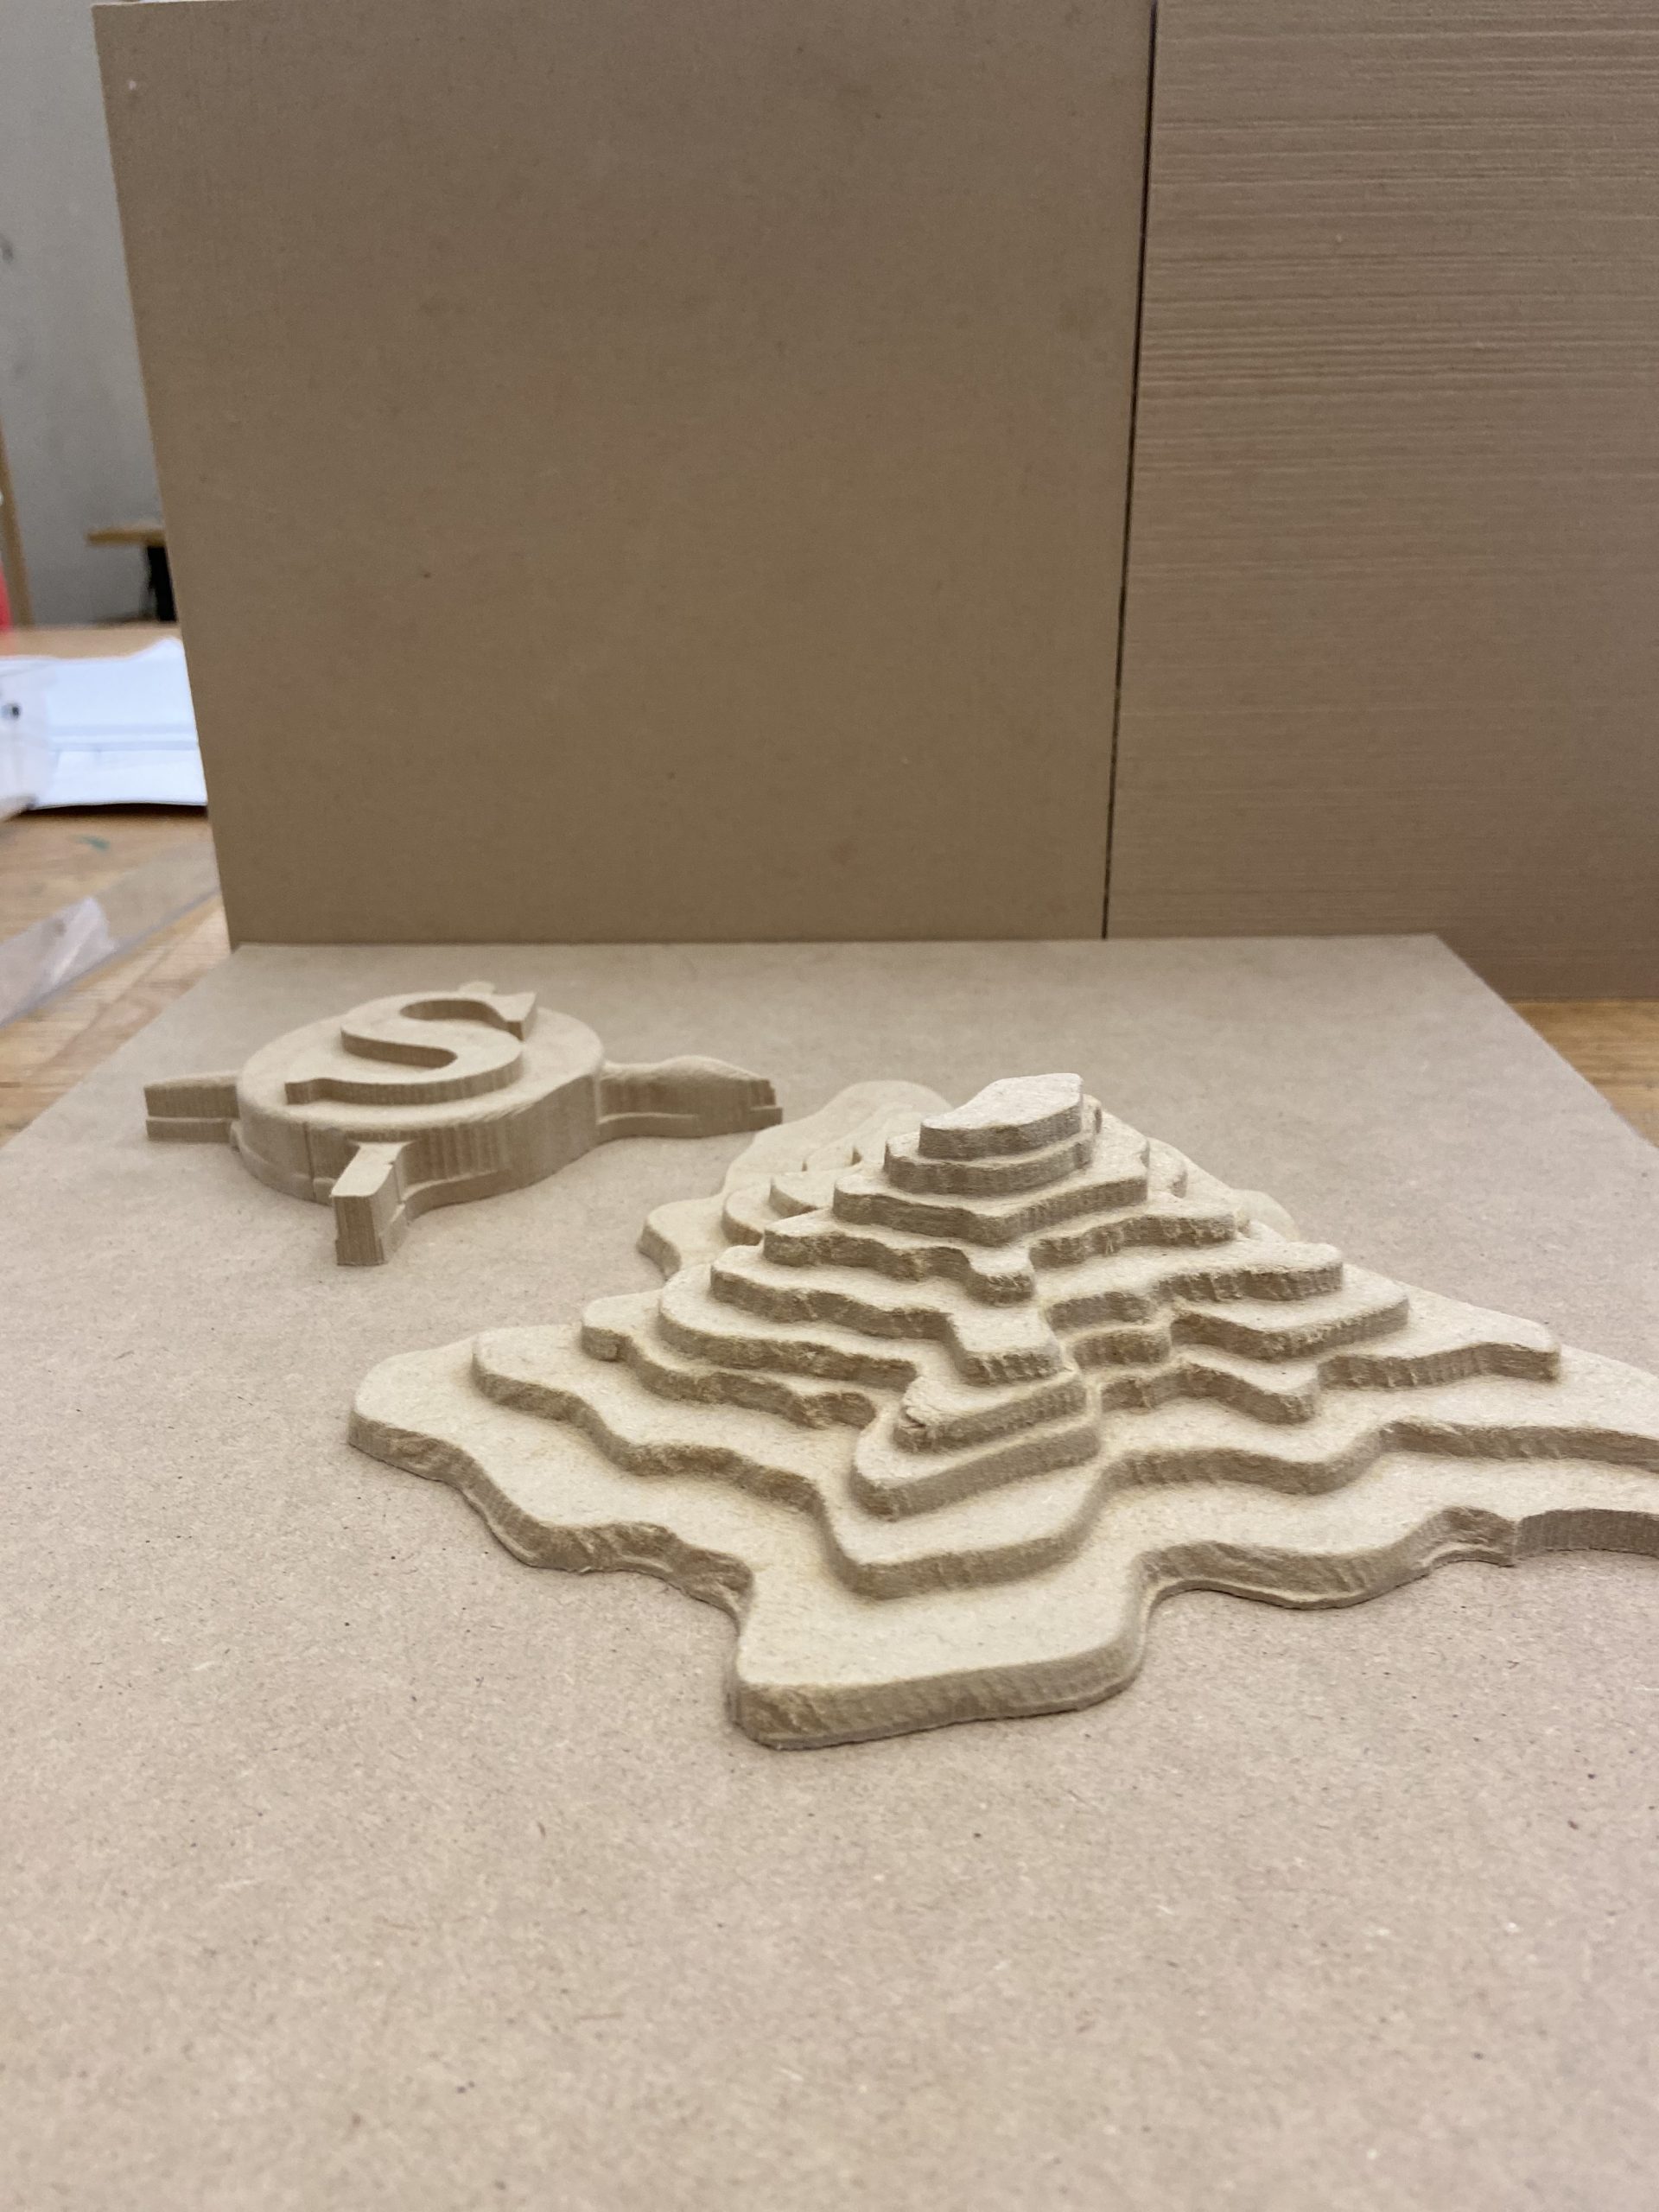
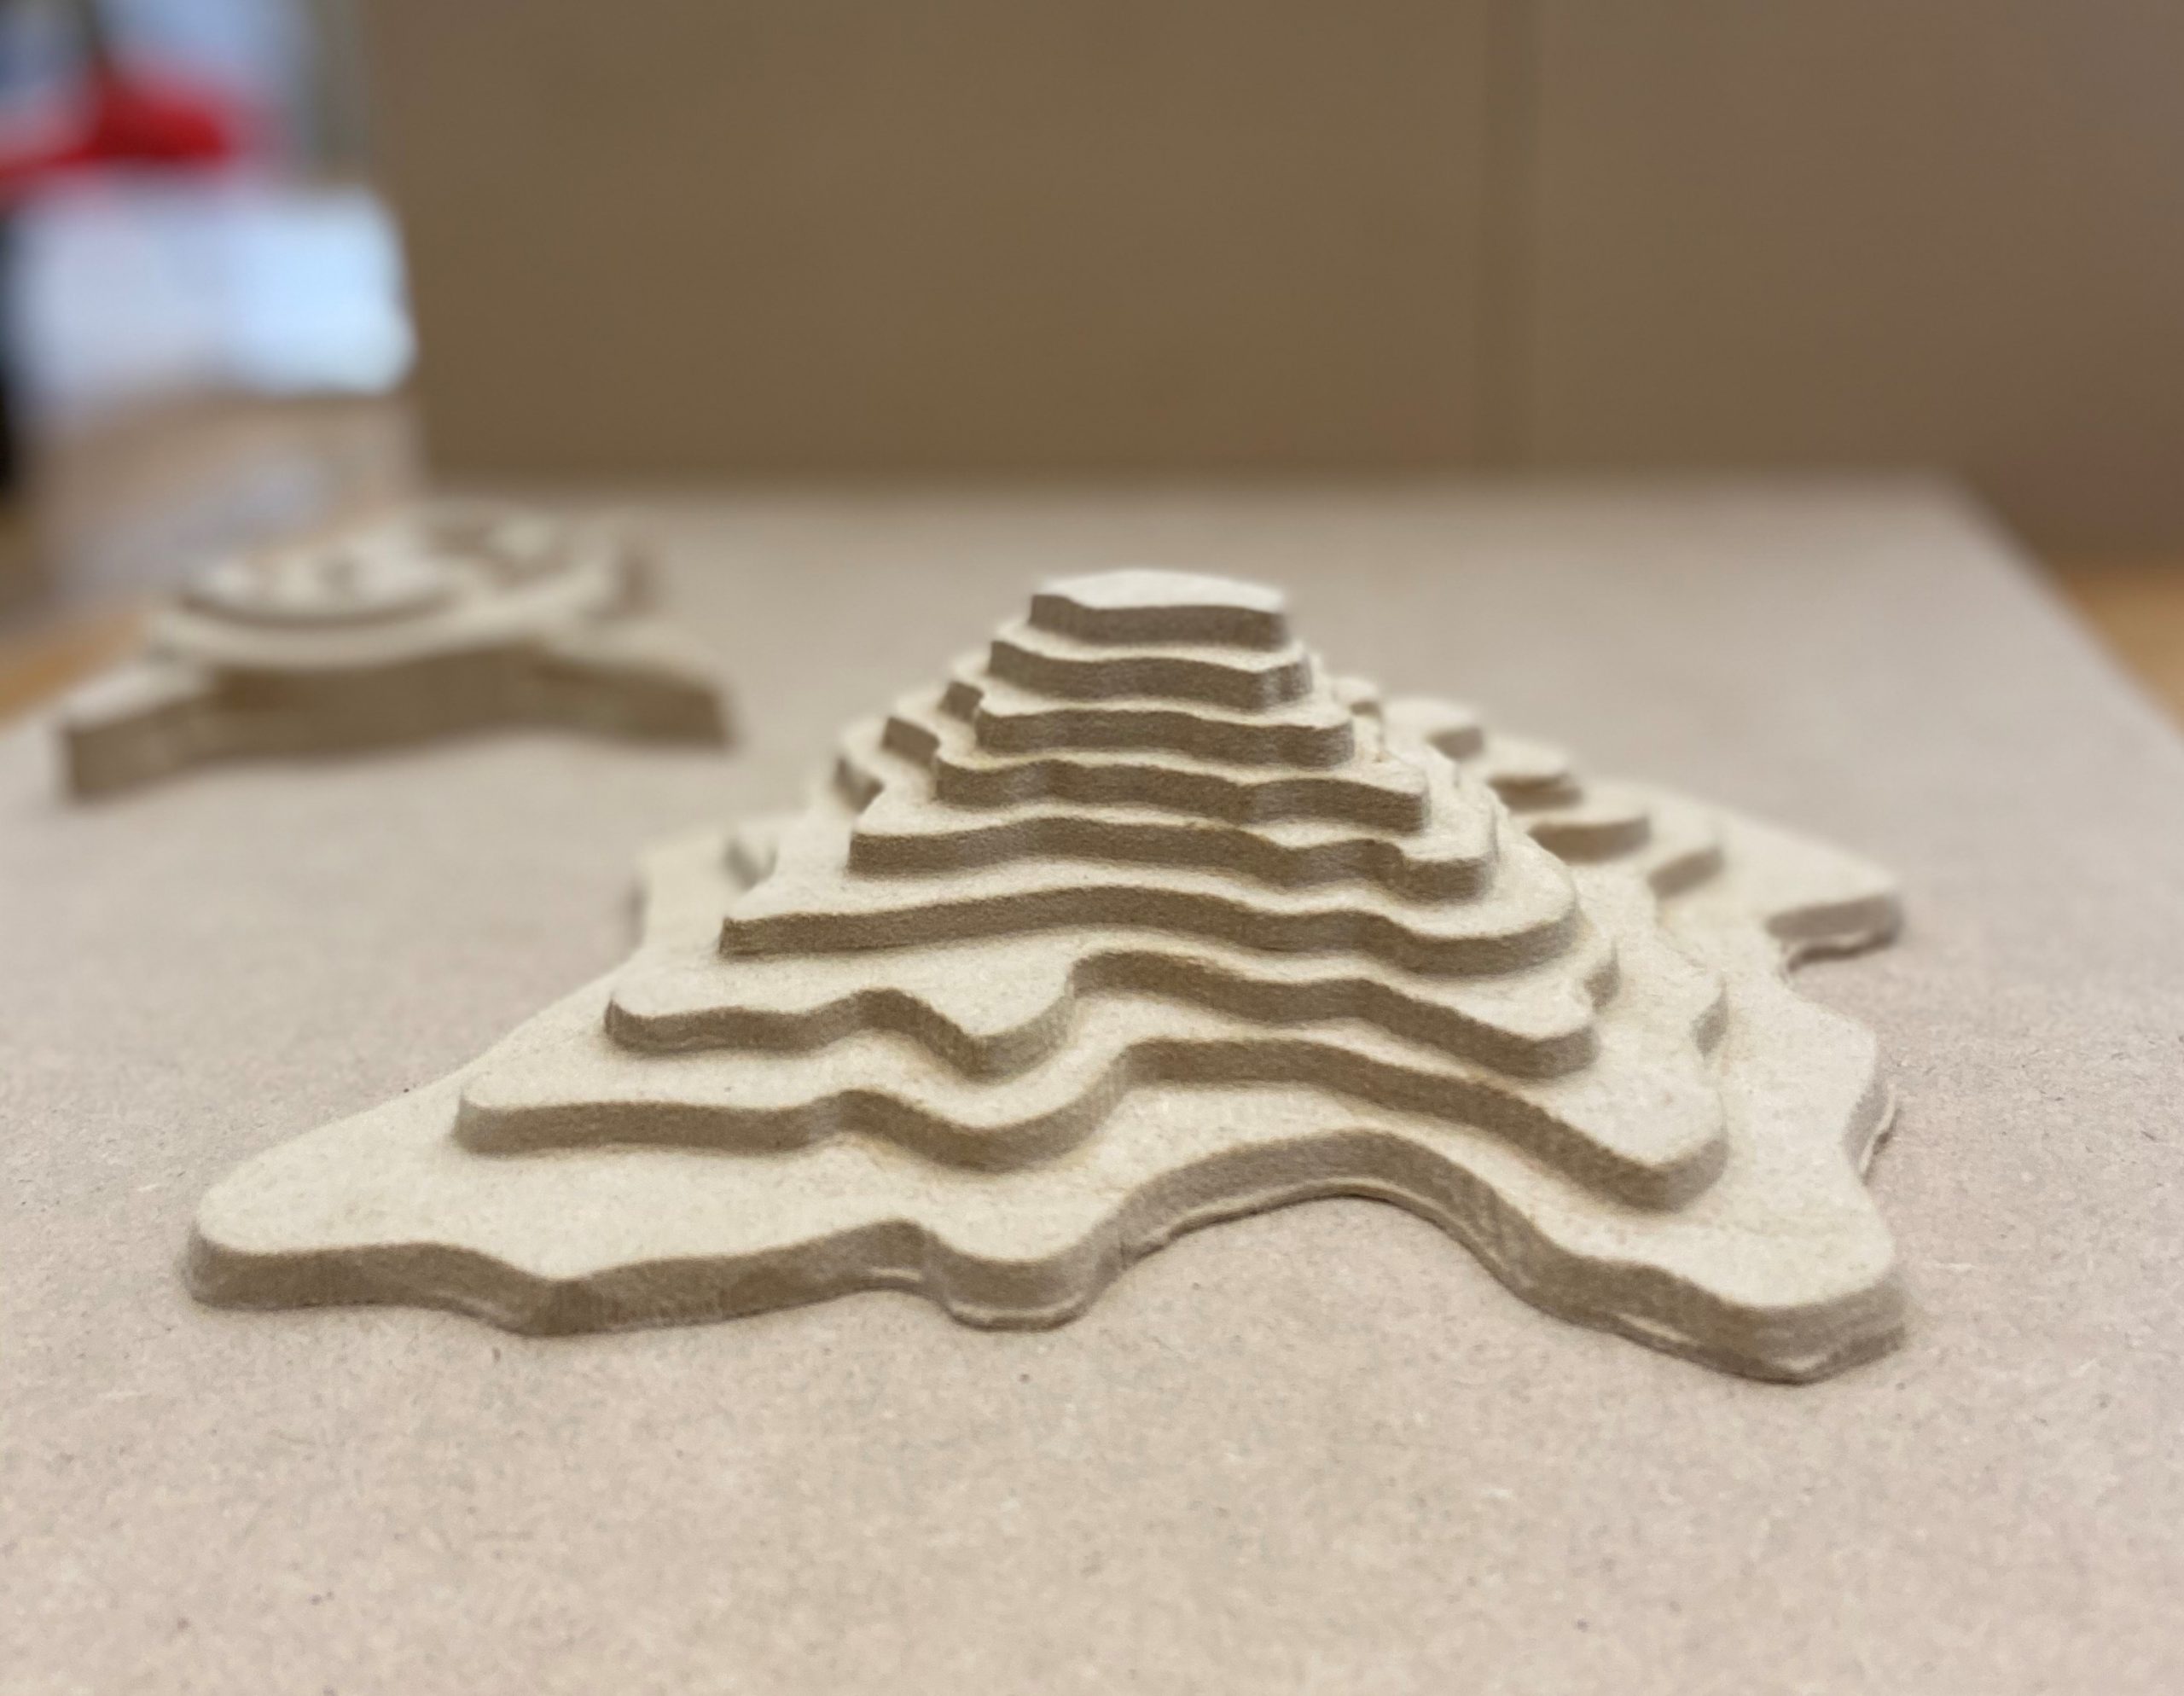
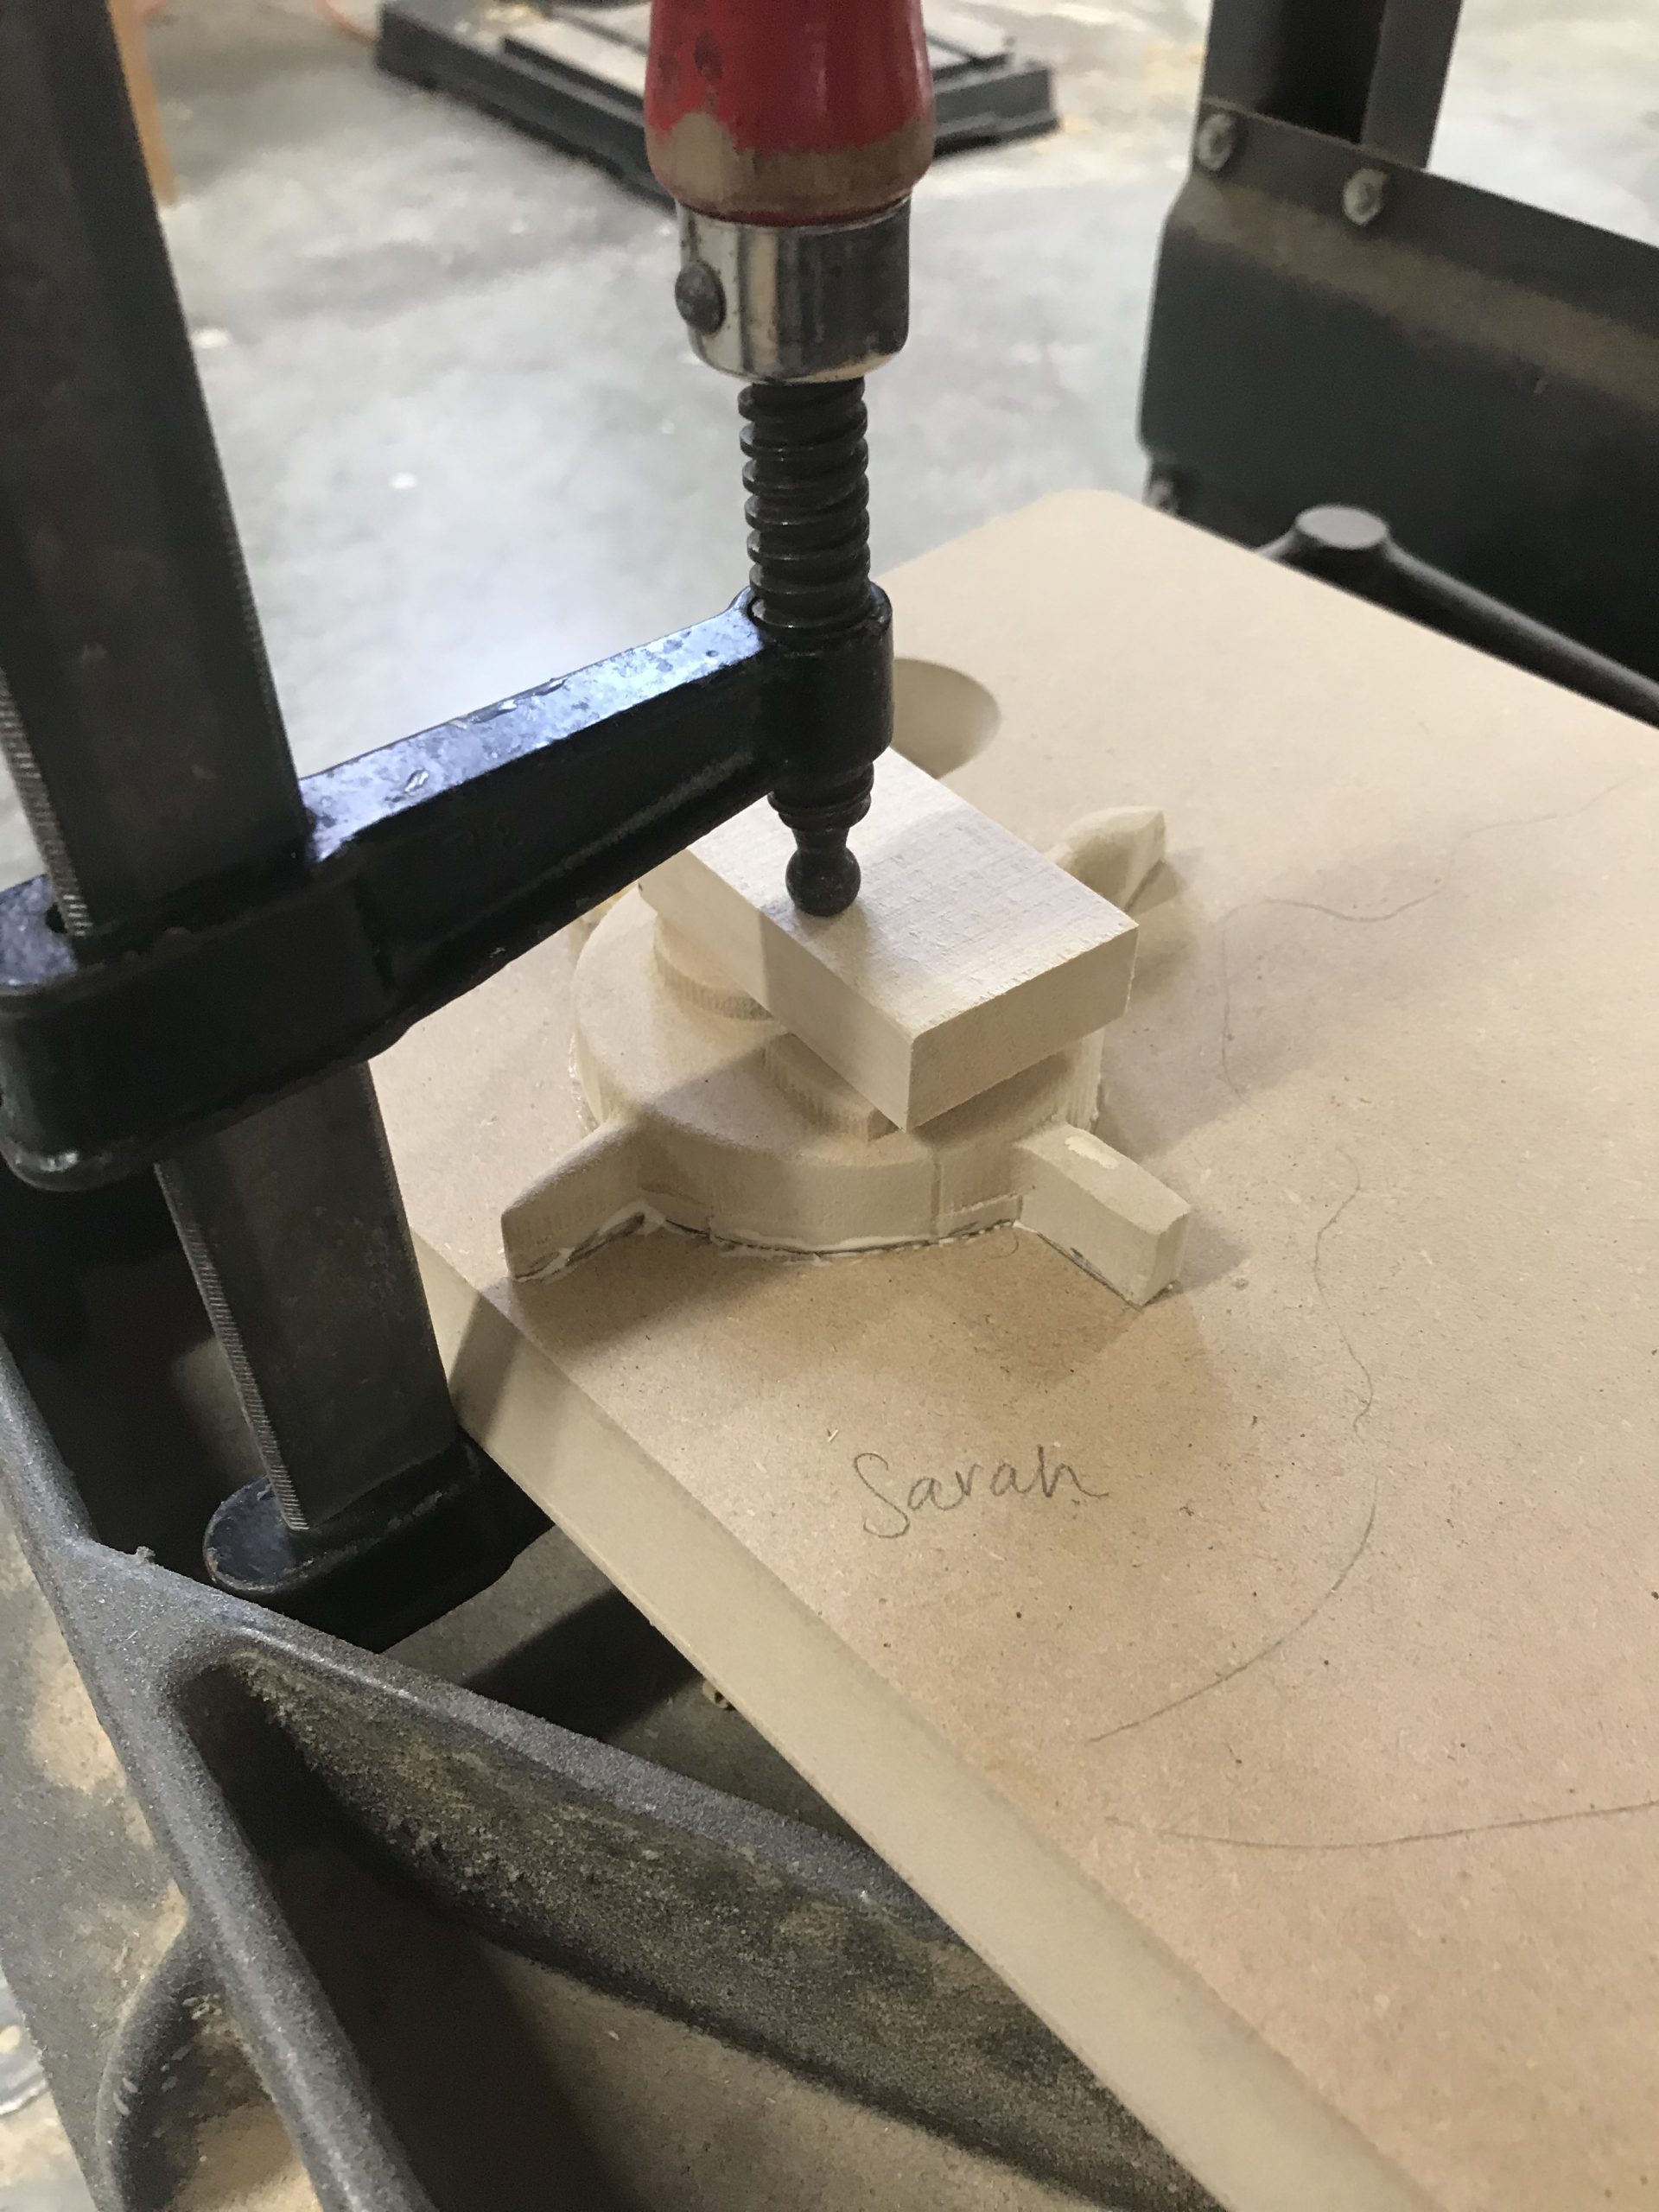
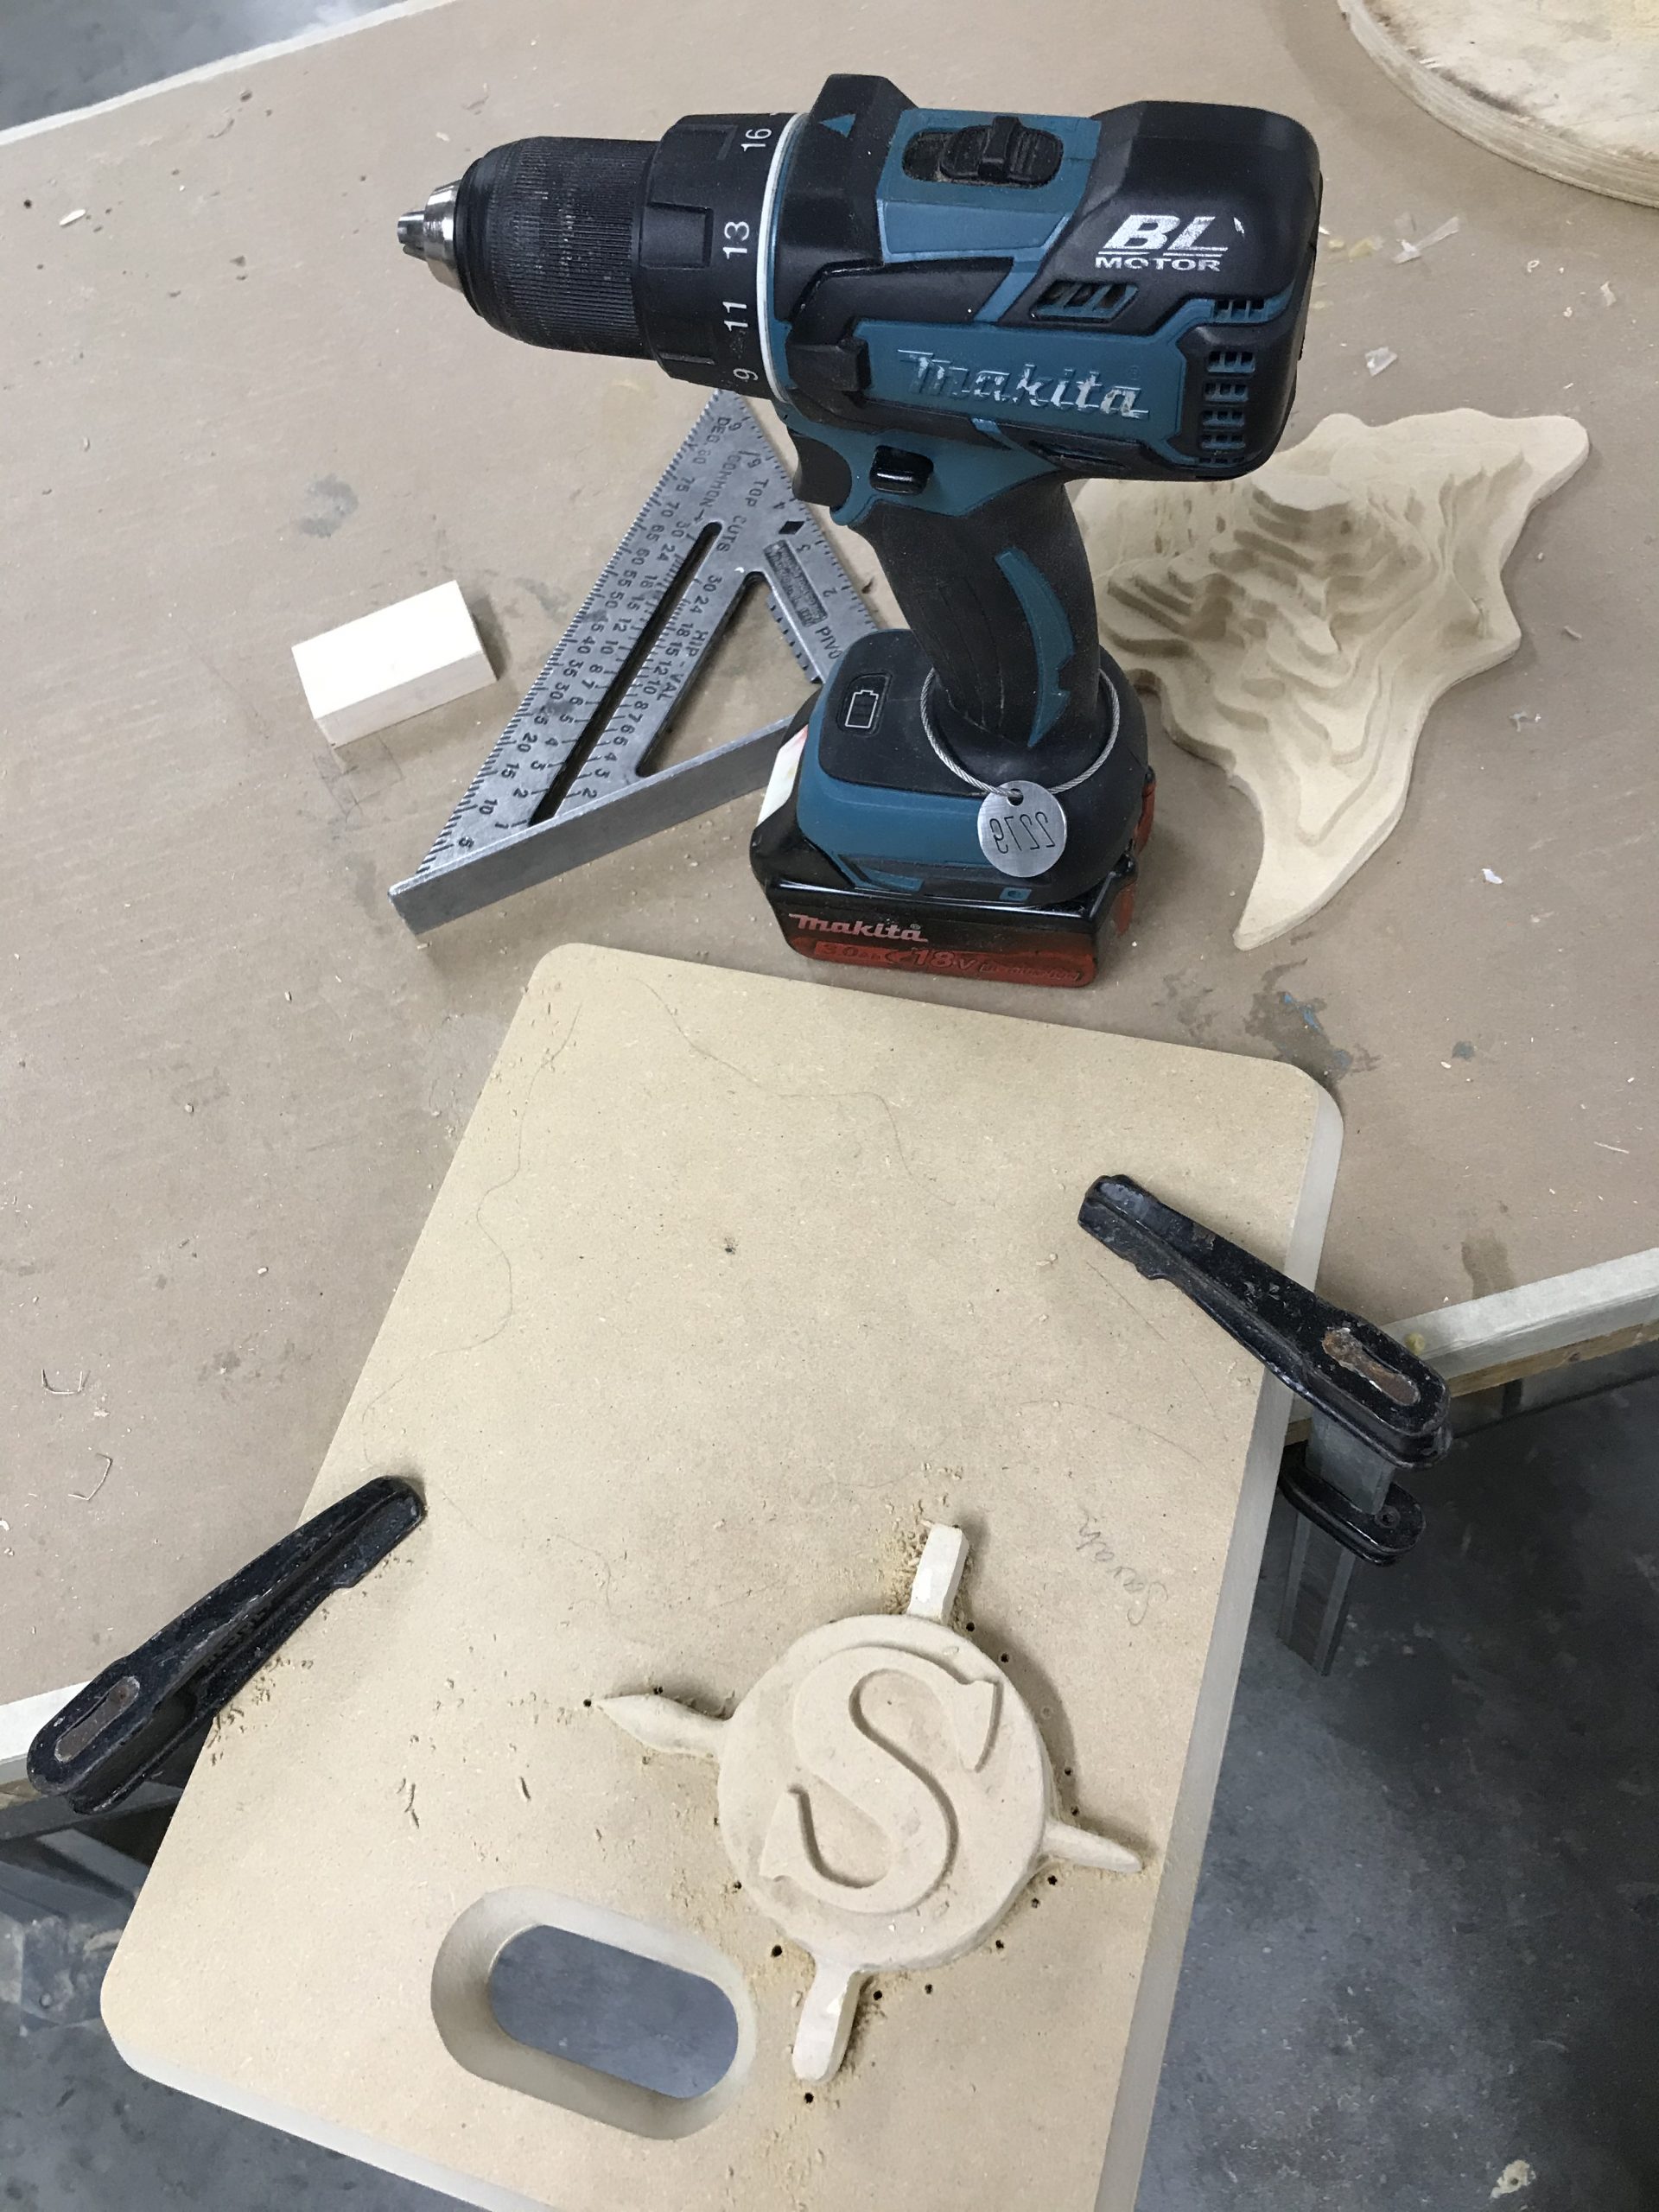
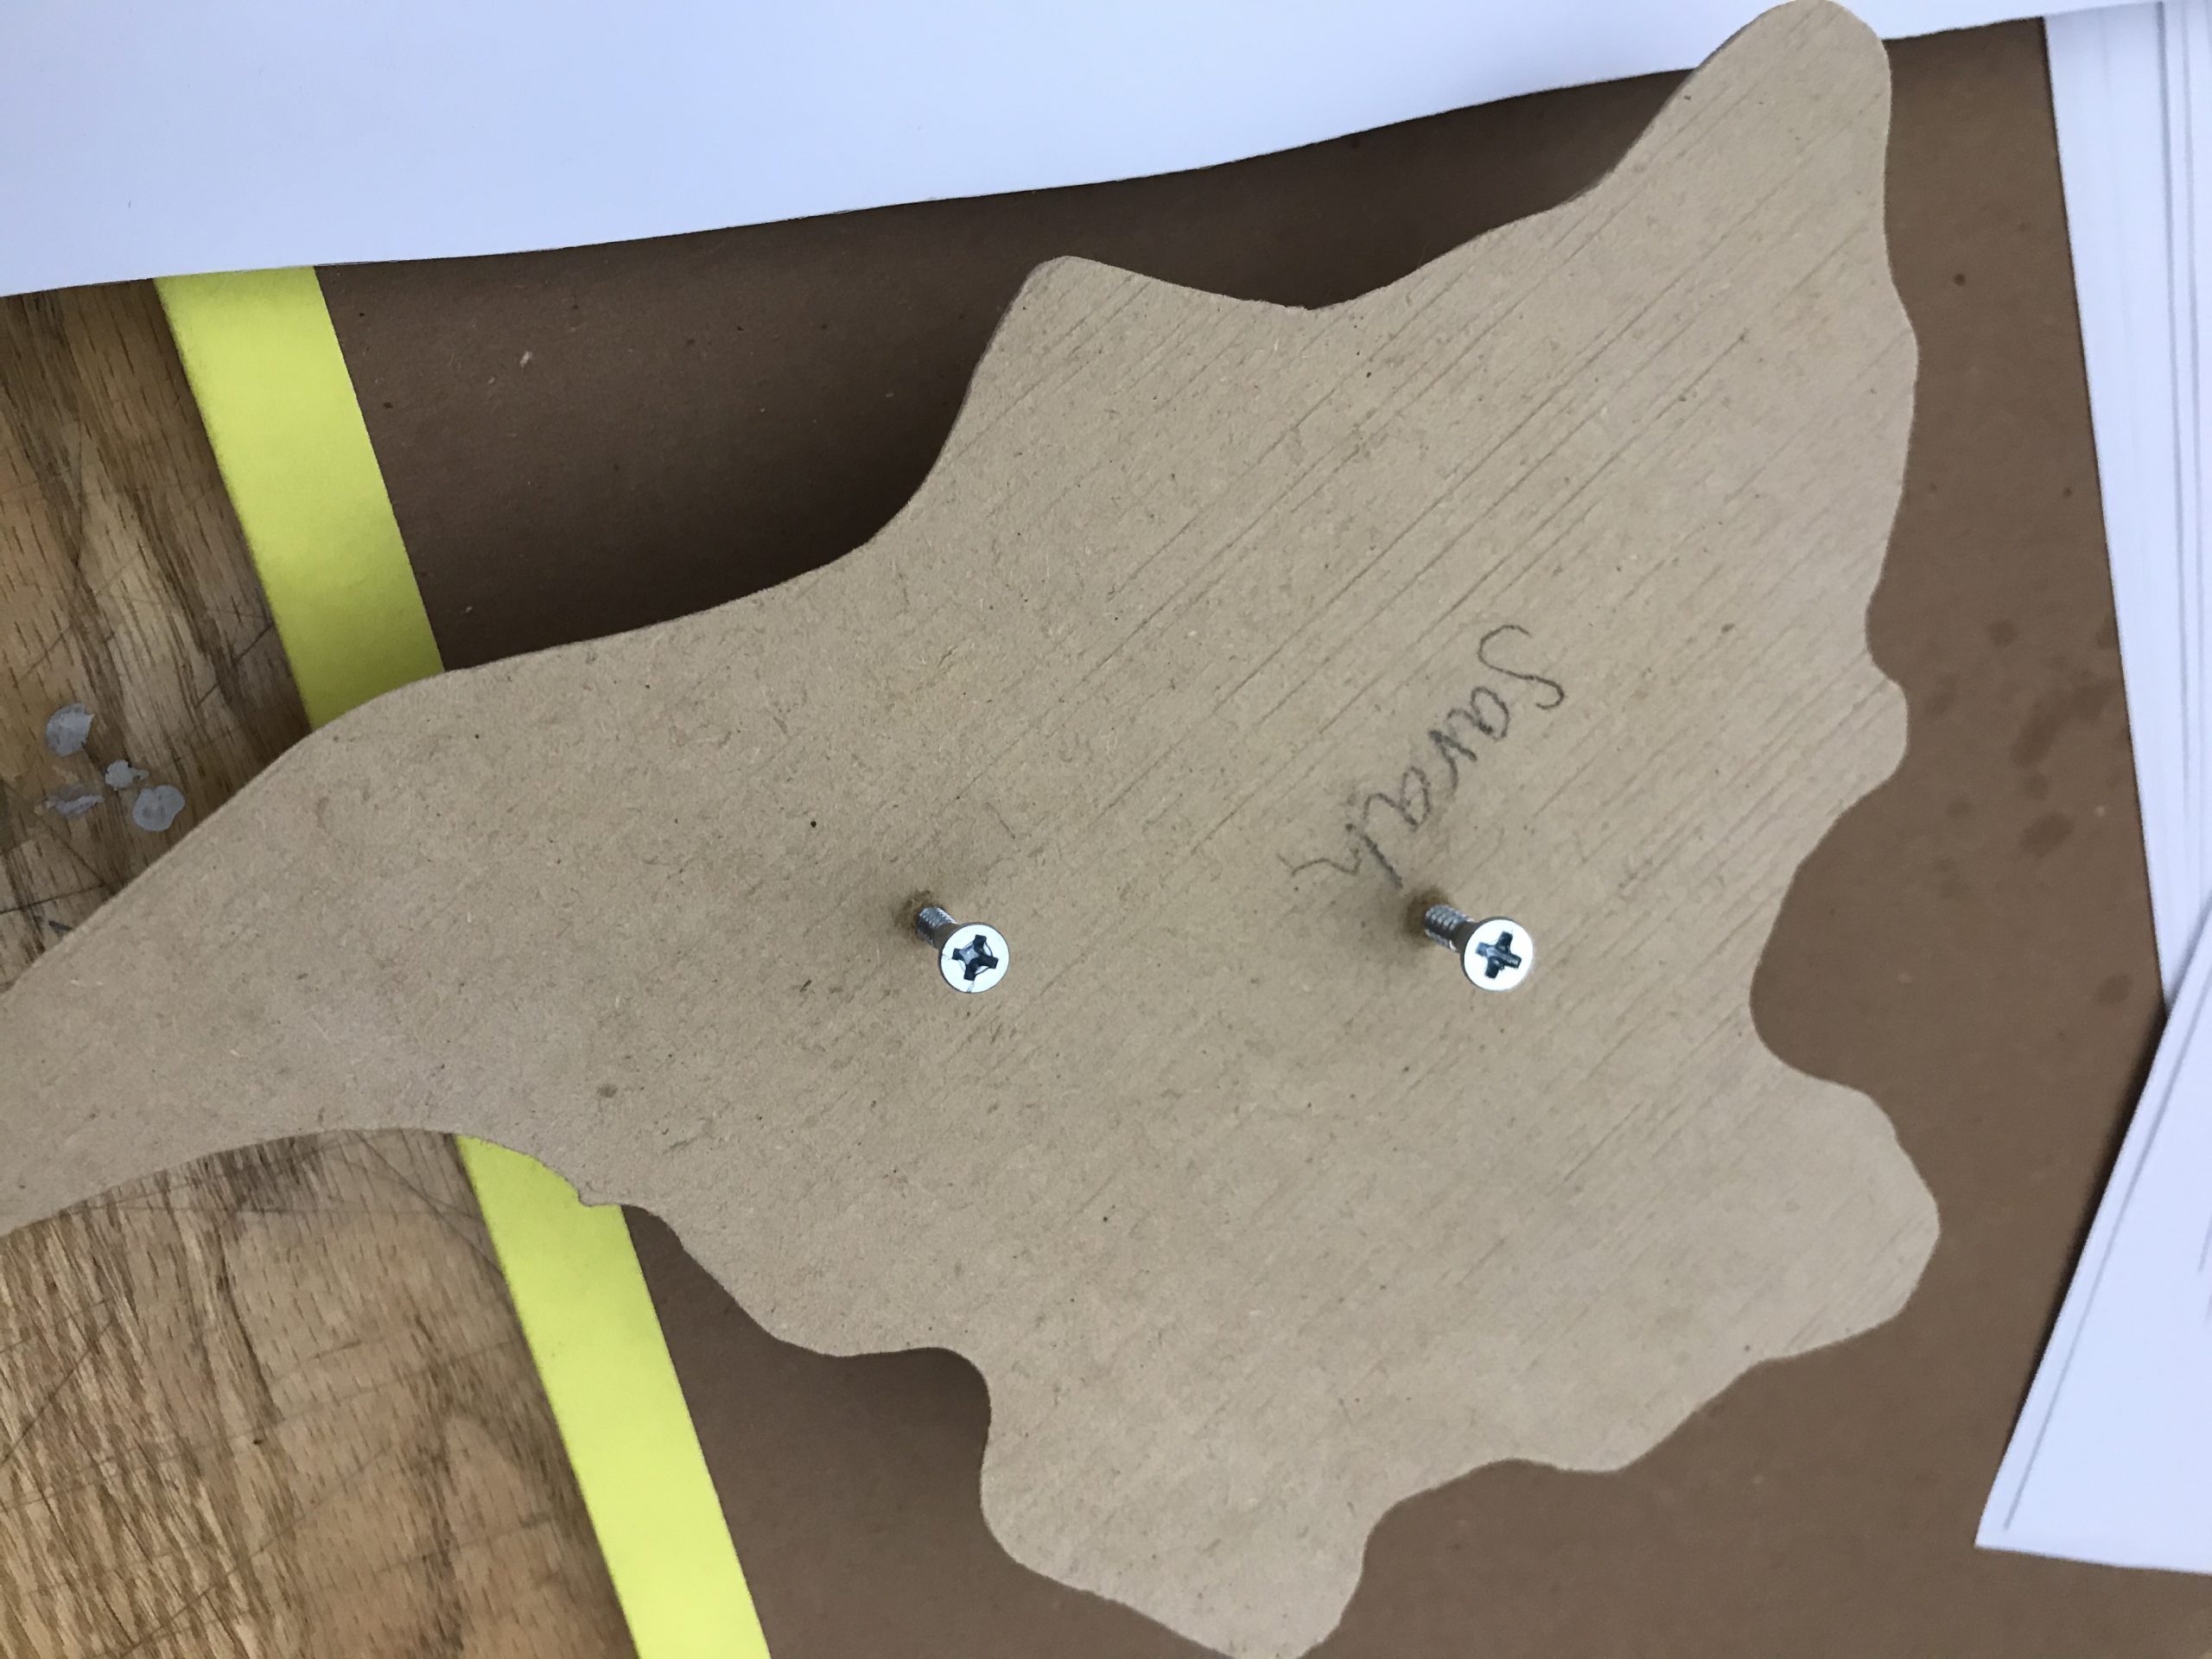
The first step for the CNC machine is creating an online template, such as a Solidworks file. The next step is choosing material for the machine. I used MDF wood, a piece roughly the size of 15x15x4″. The machine will essentially remove the negative space of the block and the remaining wood will be my Solidworks files. 

The mountains and the compass still had about 3″ of wood block connected to them, so I went to a band saw and cut off the block which left me with a very thin strip of MDF wood. Then I cut around both pieces to remove to excess wood. 

The next step was sanding. The MDF is a very soft wood, it is made up of sawdust glued together. I put draft on the edges of my mountain levels and the CNC machine did not cut them very cleanly because of the curves around the mountain. The plastic I would be using was .03 mm which is very thin and would catch these details so I did my best to sand them out. 

IMG_3904

The next steps I took to finish my mold:

  • marking the placements for the mountain and compass
  • Glue on the compass
  • Drill holes around the compass and through it around the S
  • Sand more
  • tape down the mountain
  • Vacuum press
  • remove bag tag
  • use screws to help remove the mountain.  

Vacuum Forming