RUSTIC ROSE

Genna McDermed

This project was prompted by an assignment to create a three-dimensional sign using vacuum forming techniques. This sign must use symbols to describe myself while also including my initials for a clearer representation. Once completed, it will be hung on the wall above my future design works and projects.

CONCEPT DEVELOPMENT

 What makes me, me?

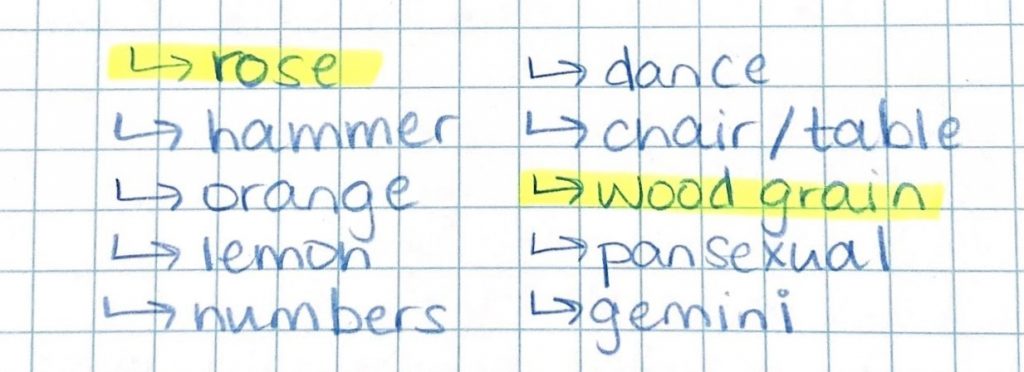
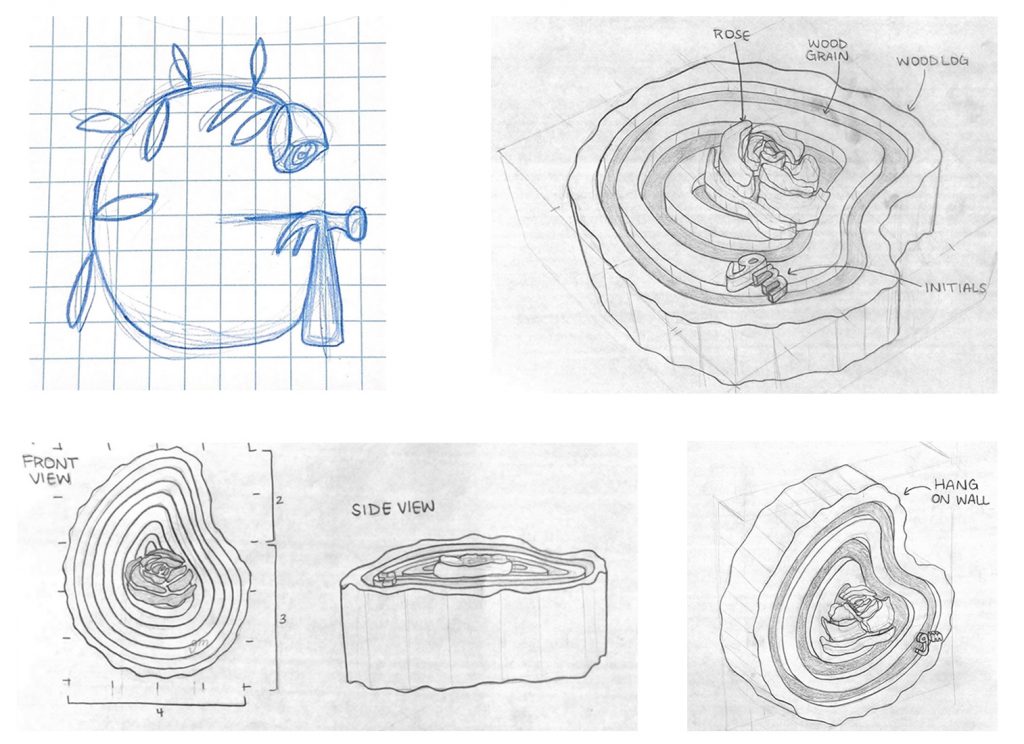
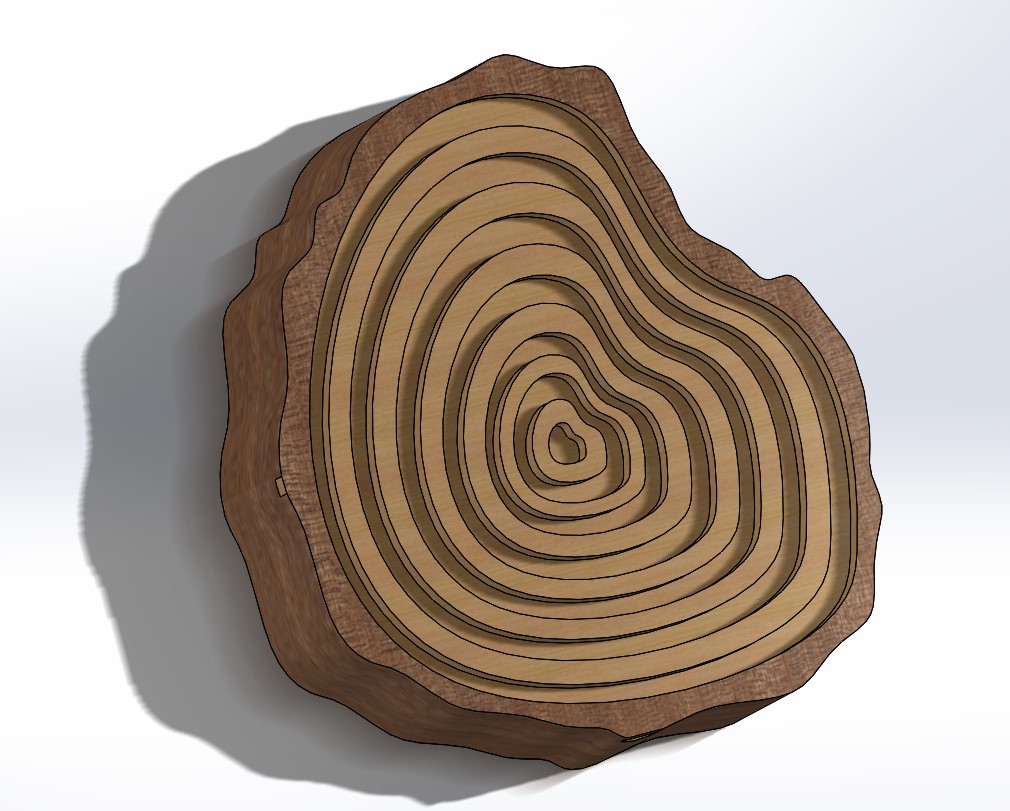
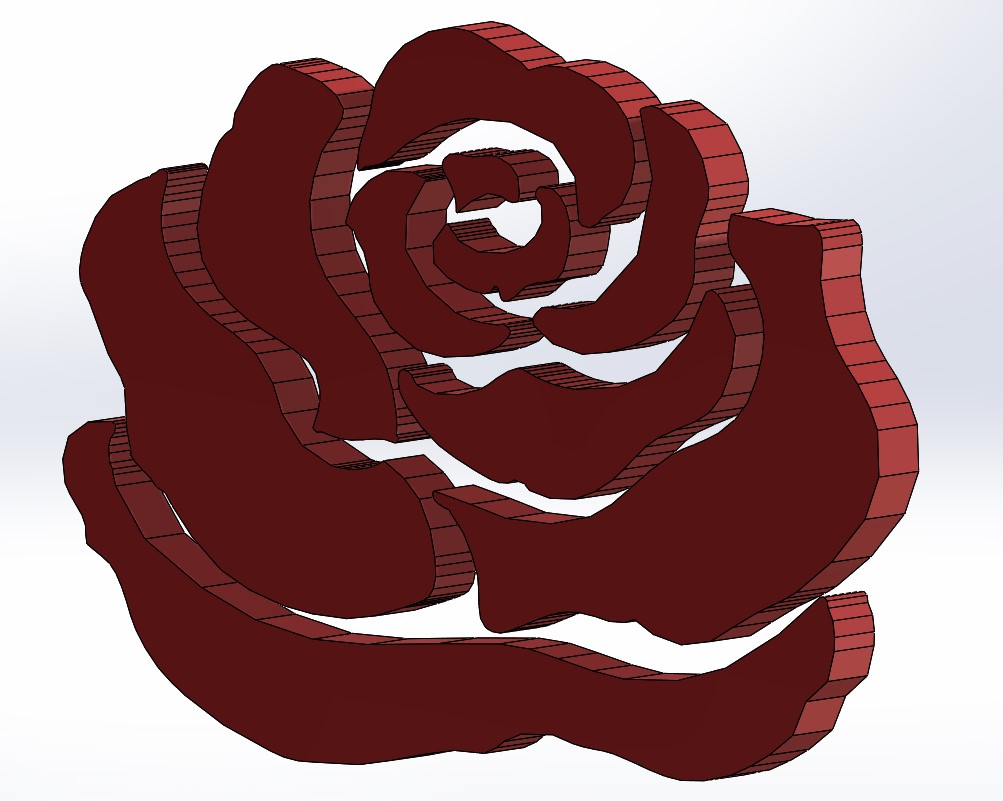
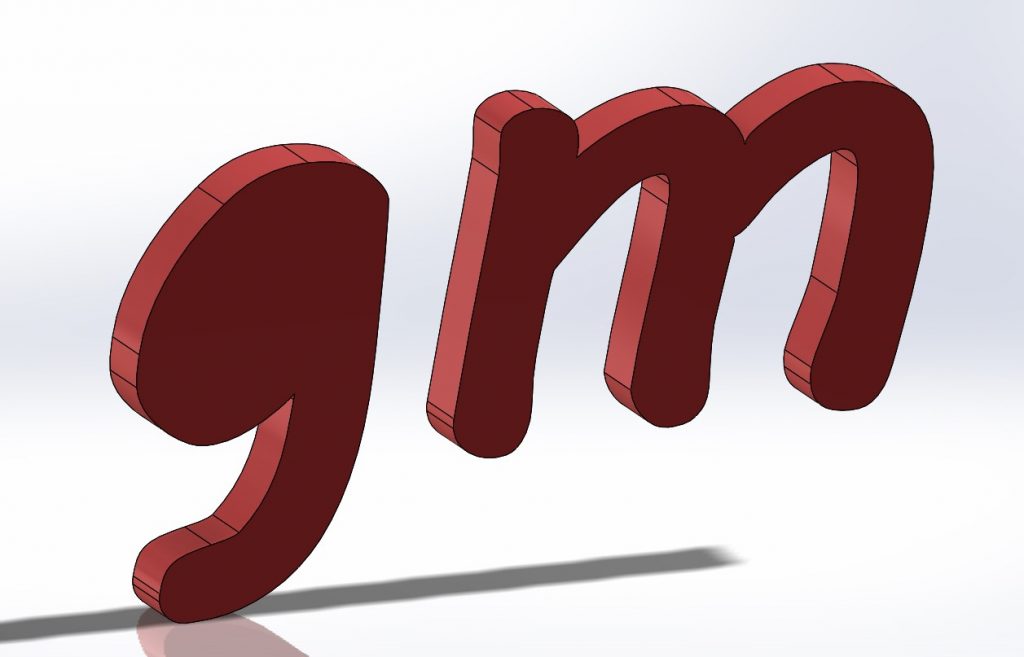
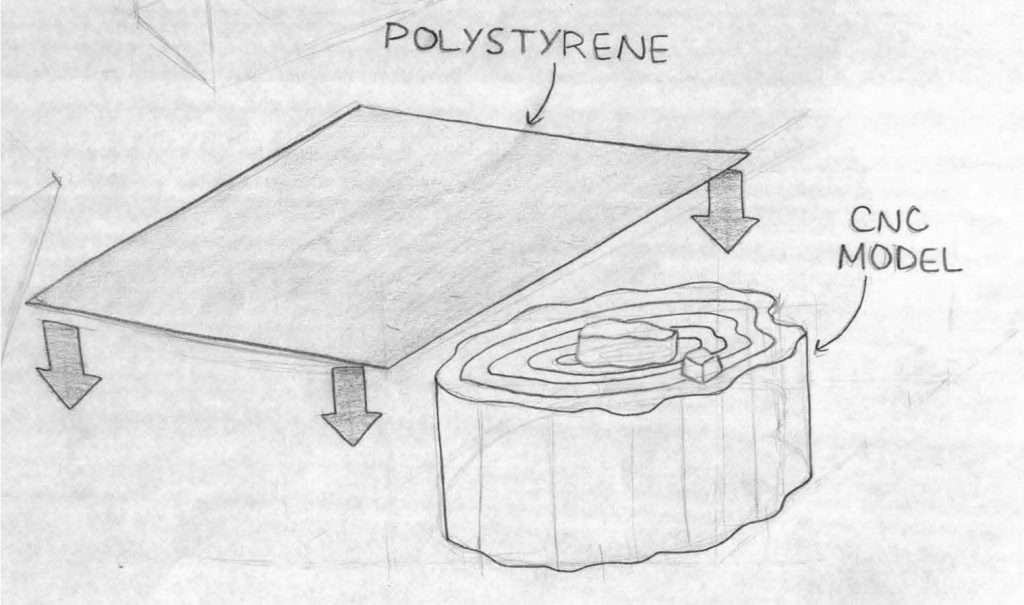
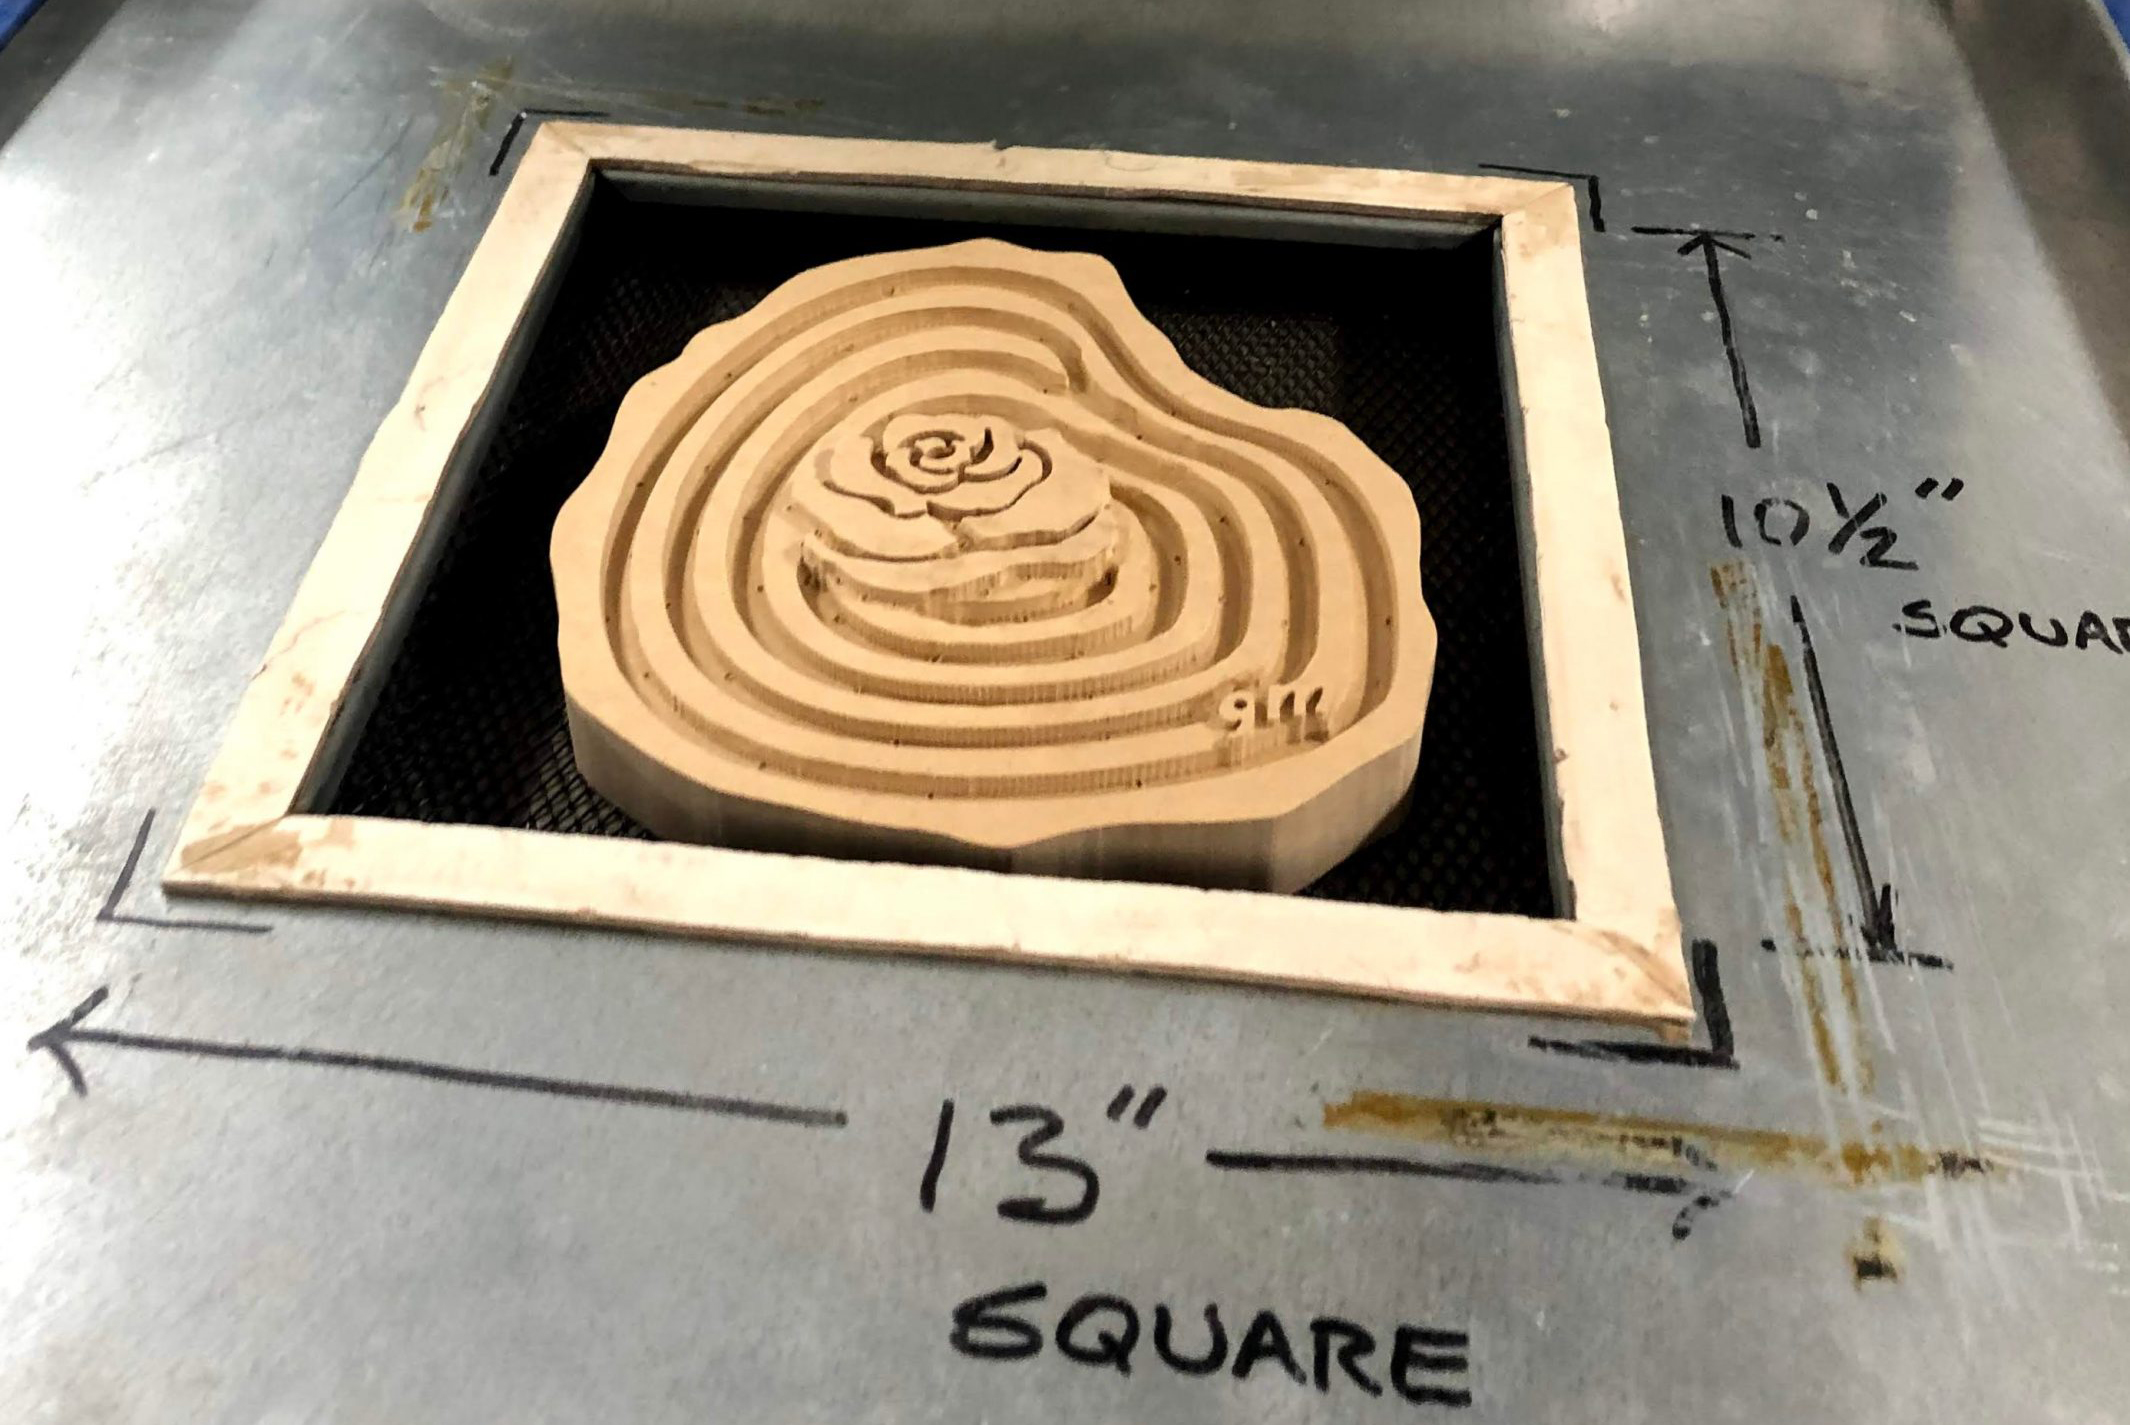
I began by brainstorming various symbols and descriptors that relate to my personality, life, and passions. My first idea was to combine my initial, G, with a rose, and a hammer; but I found this design to be too complex to 3-D model. revised my sign to incorporate wood grain, a rose, and my initials. The wood grain represents my love for woodworking and natural materials, while the rose is a part of my first name, Gennarose.

3D MODELING

I then created Solidworks models of all of my components, attempting to make the sketches and extrusions simple enough to be put on the CNC. Next I assembled all of my parts to form my sign.

Annotation 2020-01-24 151843

FABRICATION

Once the sign was modeled I could then use the CNC to carve it out of a block of MDF. The machine was not able to carve all of the small details of my design, so I followed up with the dremel tool to remove the rest of the material. I also drilled lots of tiny holes and sanded the edges at an angle in order to provide airflow when using the vacuum former. On the back I added a small portion of MDF around the edges so that I can have a clean edge after vacuum forming.

IMG_9946
IMG_9952
IMG_0060

VACUUM FORMING

The next and final step was vacuum forming. I made three attempts at creating my sign, experimenting with different techniques. The first time I struggled with removing the form and ended up cracking the polystyrene in the process. I combated this issue by sanding the edges of my form at an angle in order to provide draft for an easier release Additionally, the edges of my first mold were not straight. To solve this problem, I attached  a small portion of MDF to the edges of the back of my form. This allowed me to remove the portion after vacuum forming, and cutting the edges flush to the form before removing it. I then tried again with these changes in place, but unfortunately the plastic cracked yet again. Deciding to try one more time, I sanded the edges at a larger angle. 

IMG_0056
IMG_0048
IMG_5404
IMG_0080

FINAL PRODUCT

Despite my efforts the form got stuck every attempt I made and cracked the mold. So, as a last resort I took the least crack mold and used hot glue on the inside to heal the broken seams. On the outside you can barely tell that the plastic broke.

IMG_0095
IMG_0102
IMG_0094