QR CODE SIGNS

Hannah Tatman | Mattea Mertz | Jessie Johnson

PROJECT GOALS

When tasked with creating two QR code signs, we had a main objective associated with each sign. One sign needed to be customizable and the other had to be made of an unconventional material. We achieved these objectives through the use of specialized production methods and extensive ideation and problem-solving. From beginning to end, this site details the process involved in bringing our ideas to life.

IDEATION

IMG_3832

We began our ideation process by brainstorming on materials, processes, mechanisms, and forms. 

SIGN 1 IDEATION

For our first sign, we were inspired by the woodworking techniques involved in making cutting boards. We wanted to use various types and colors of wood to create visual interest and intrigue.

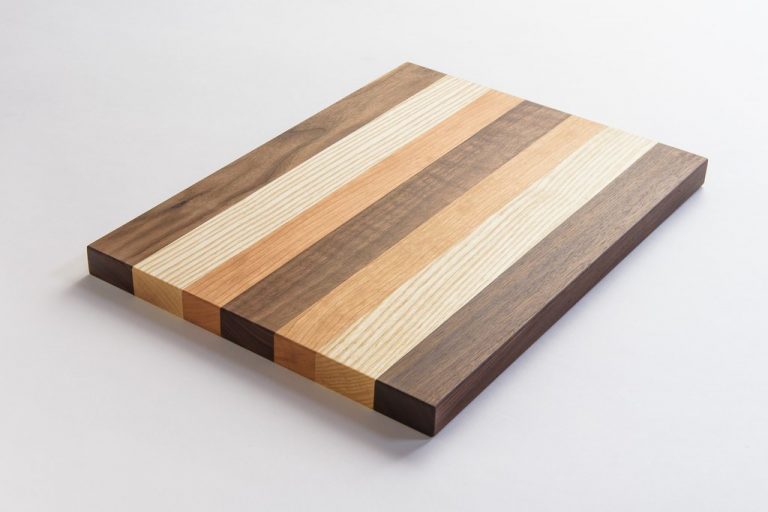
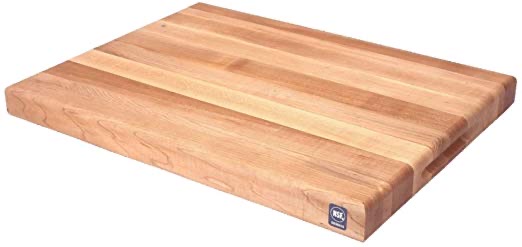
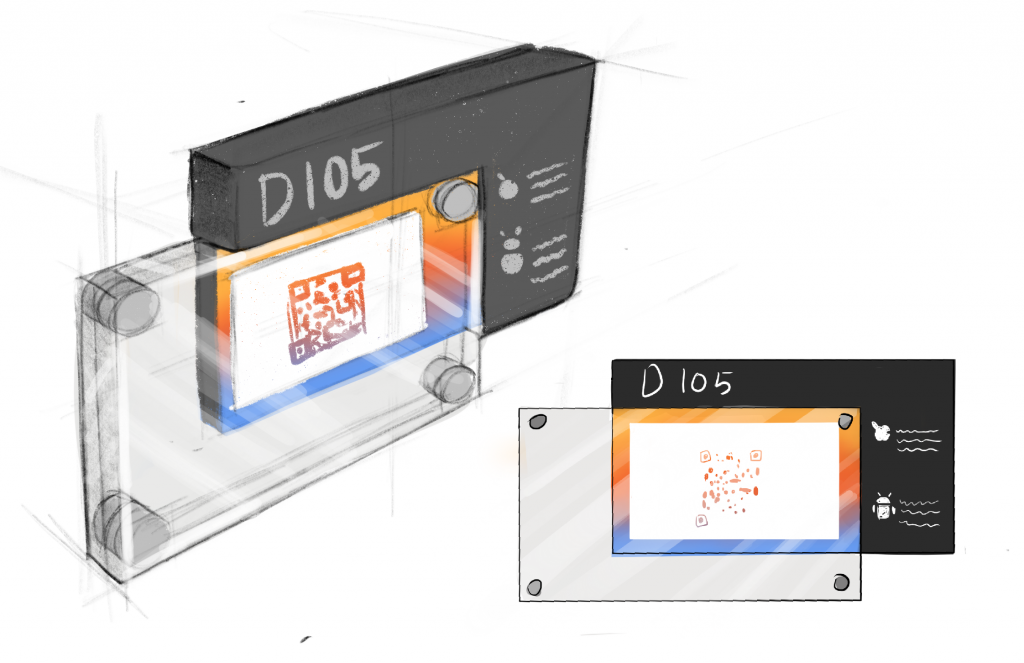
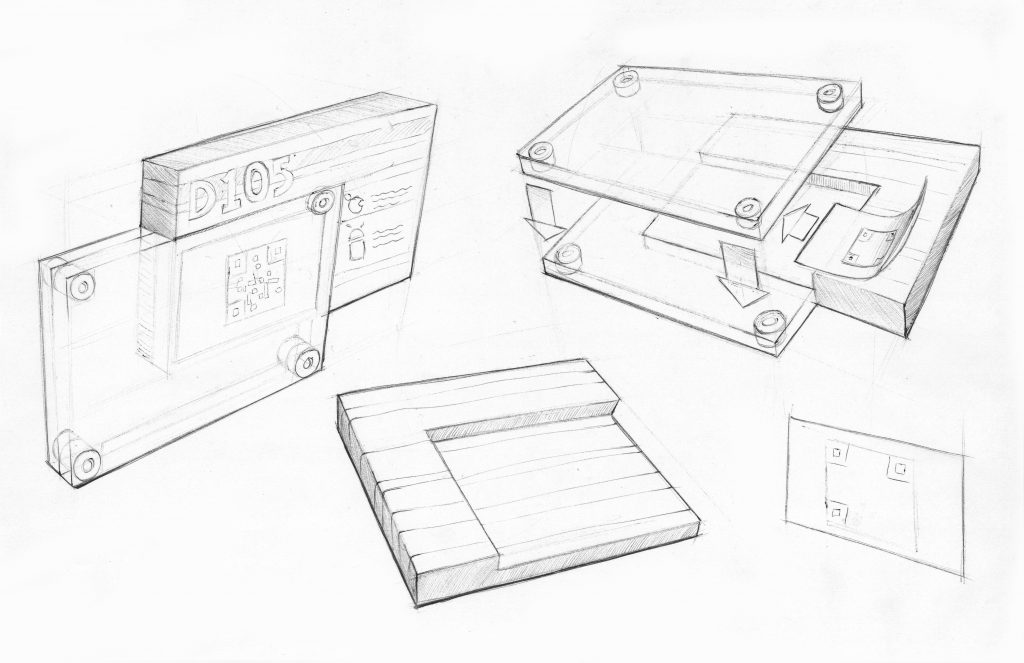
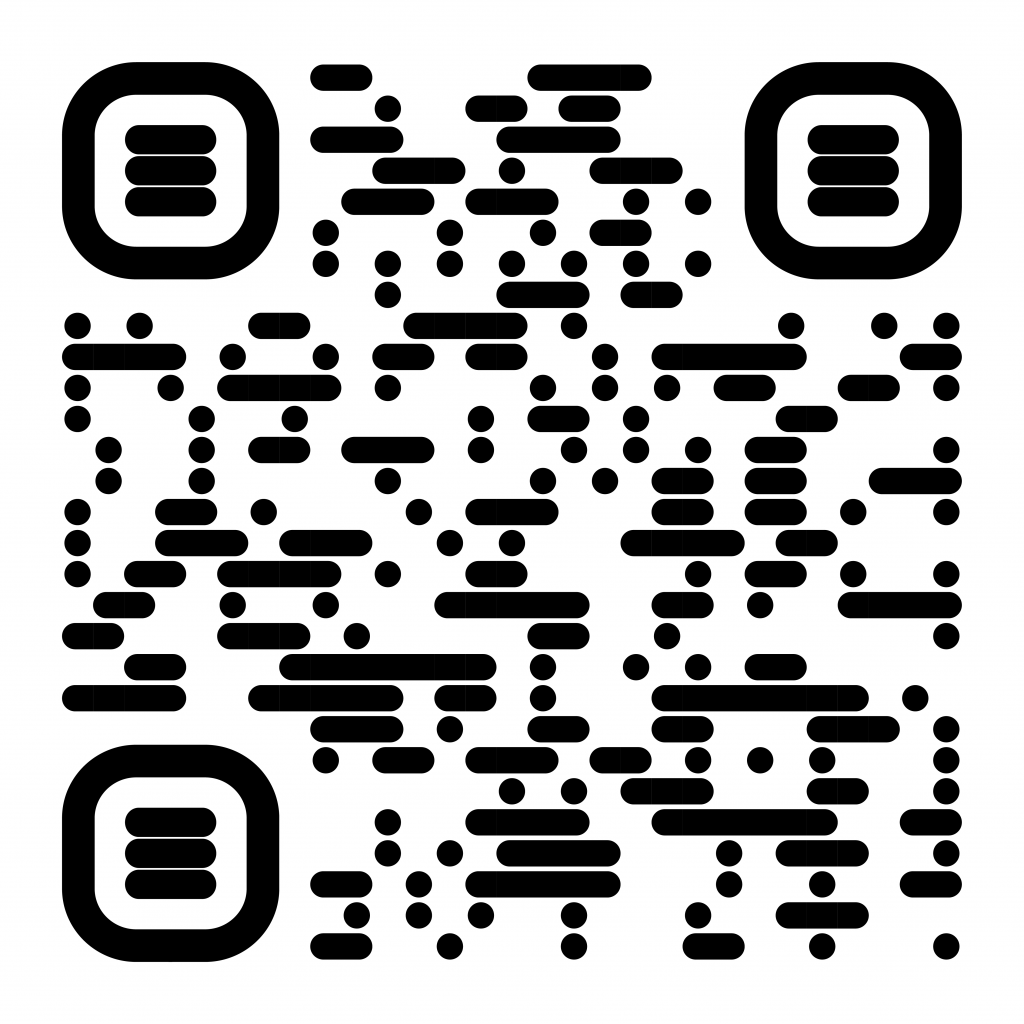
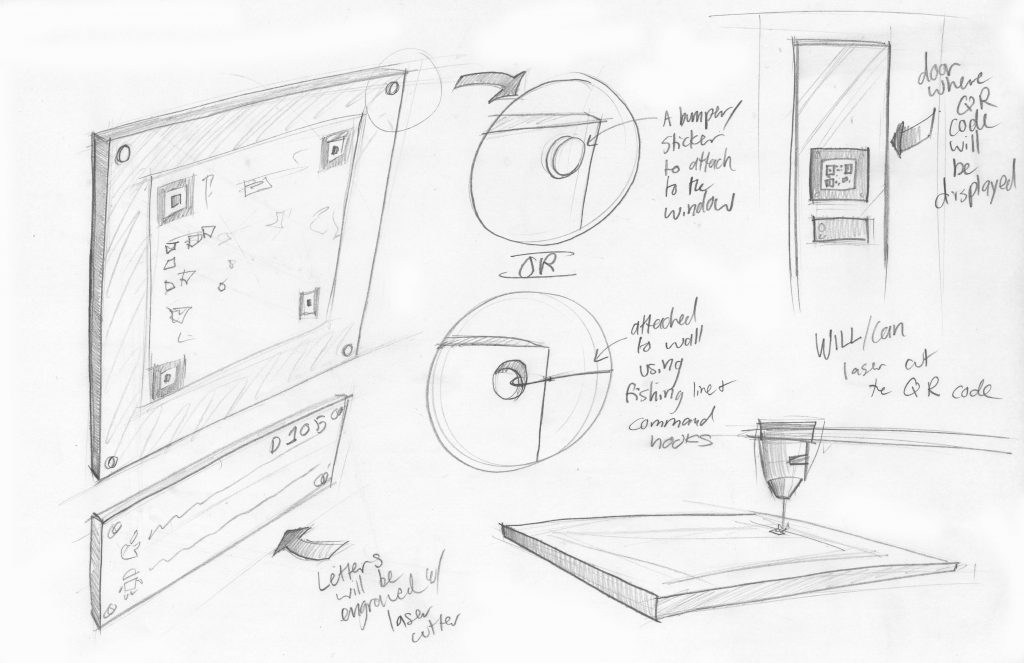
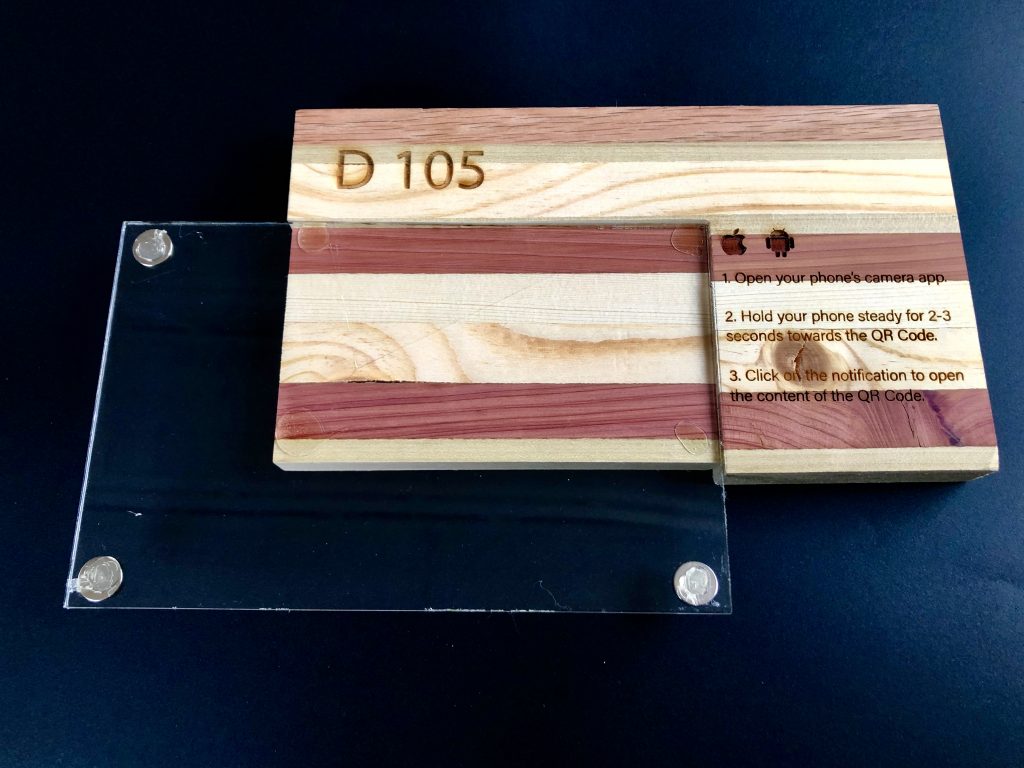
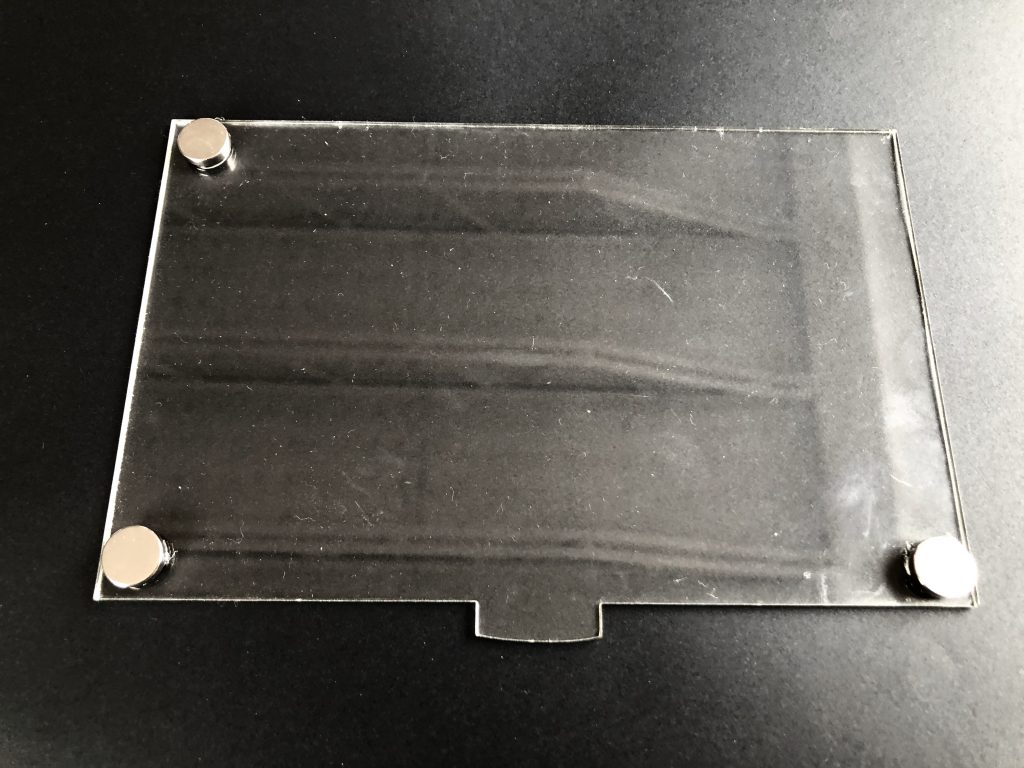
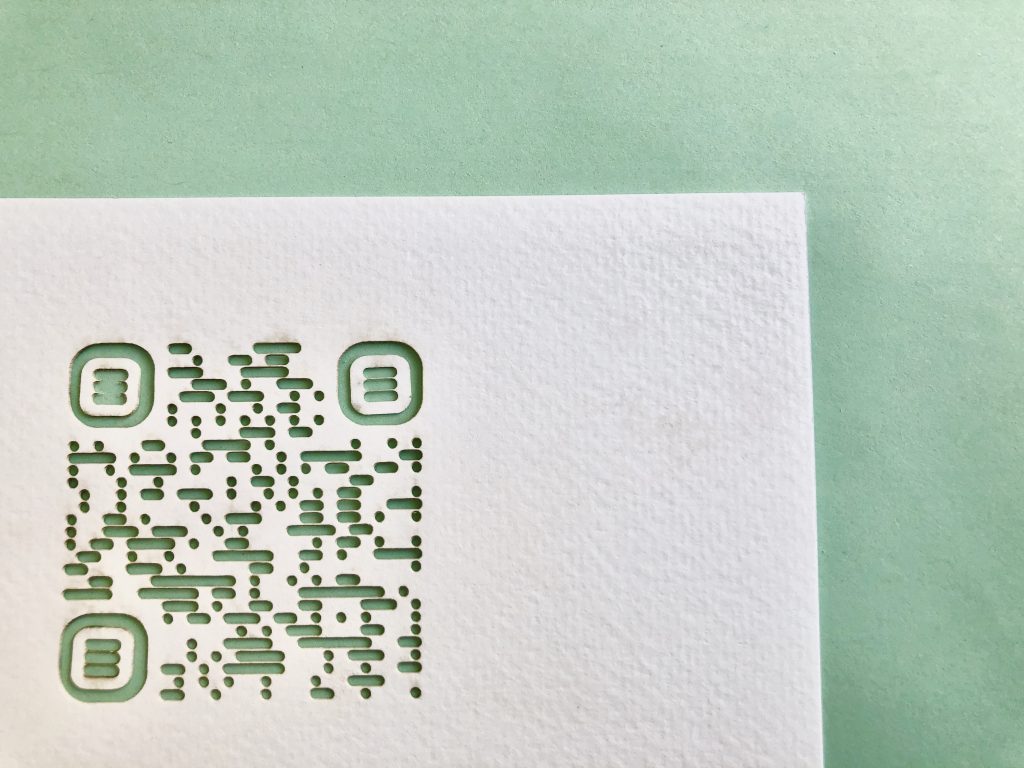
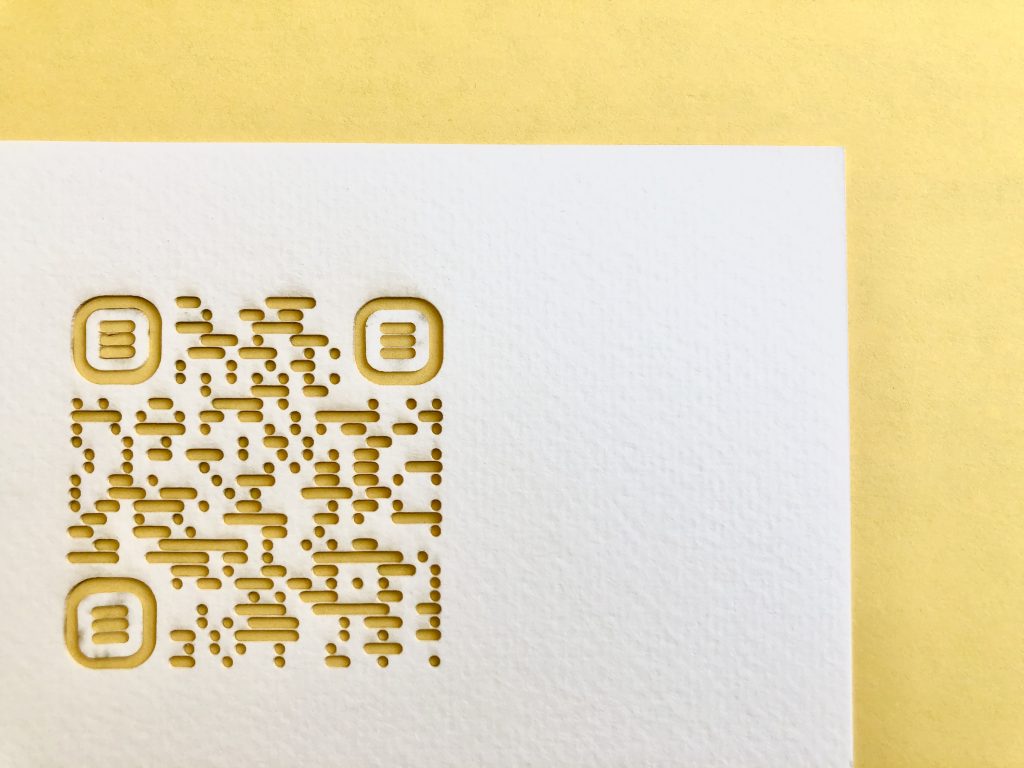
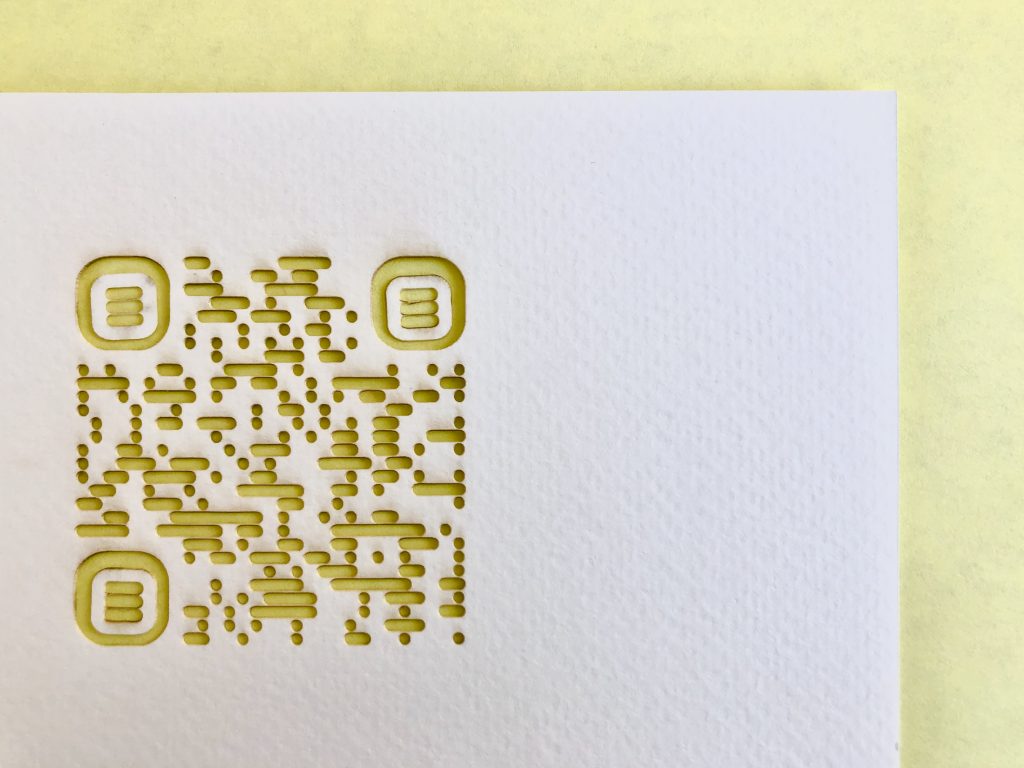
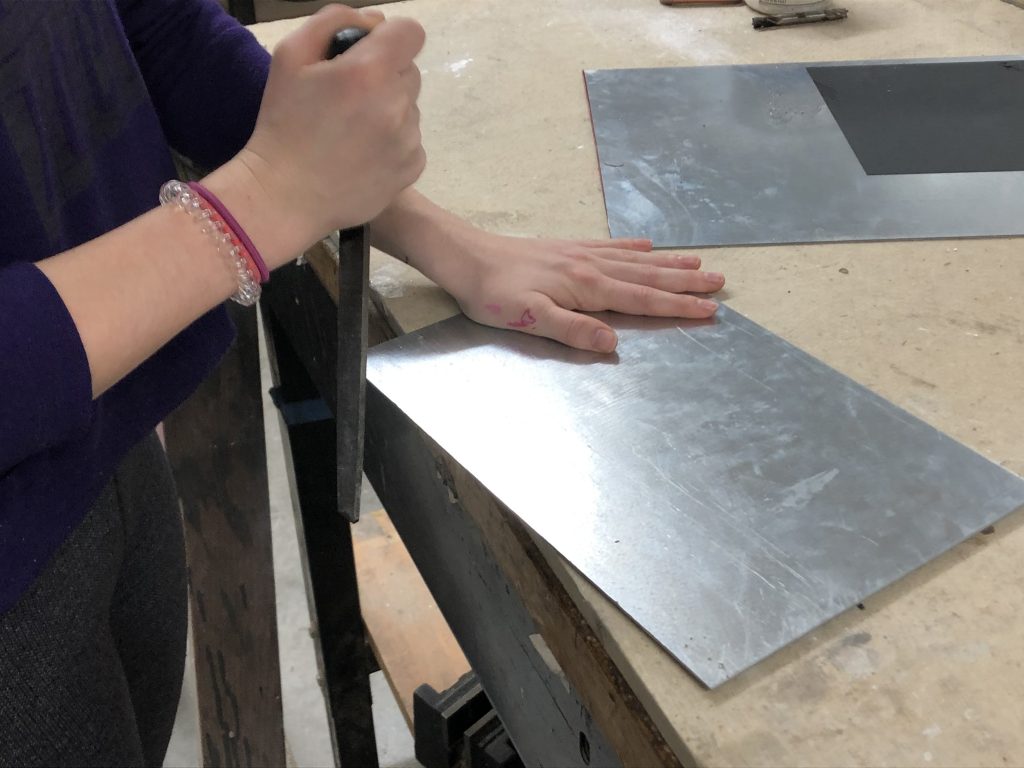
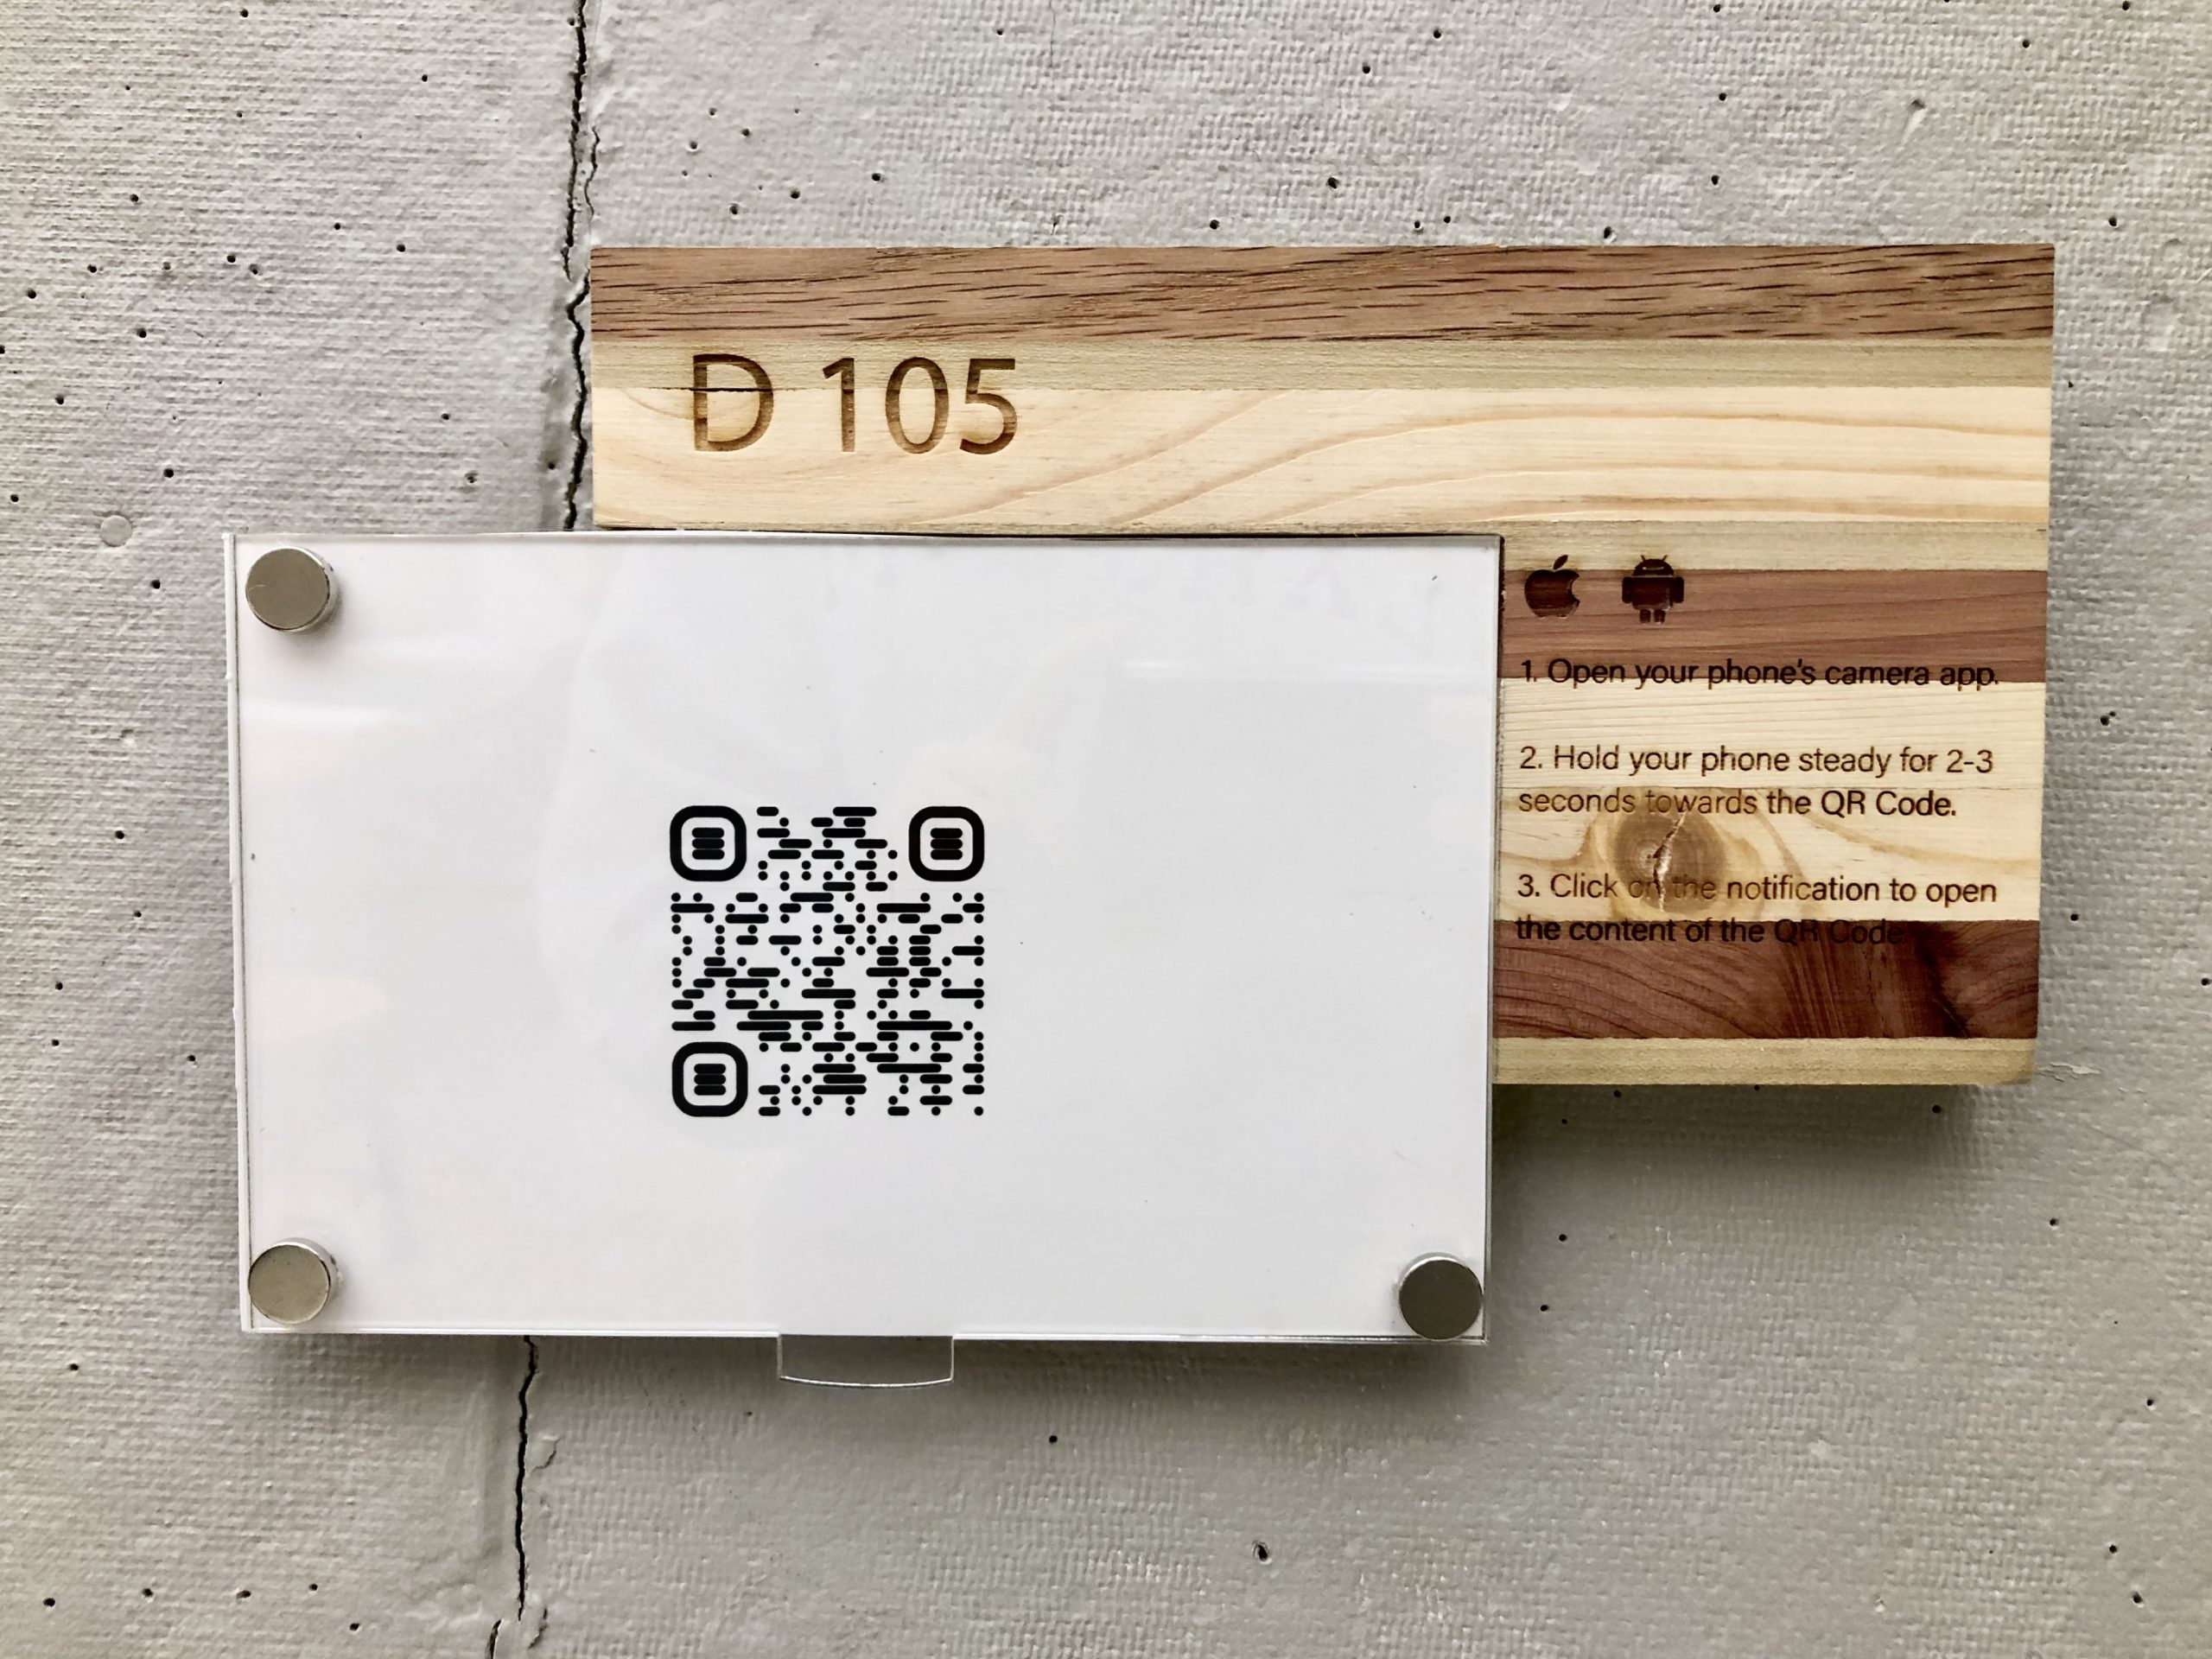
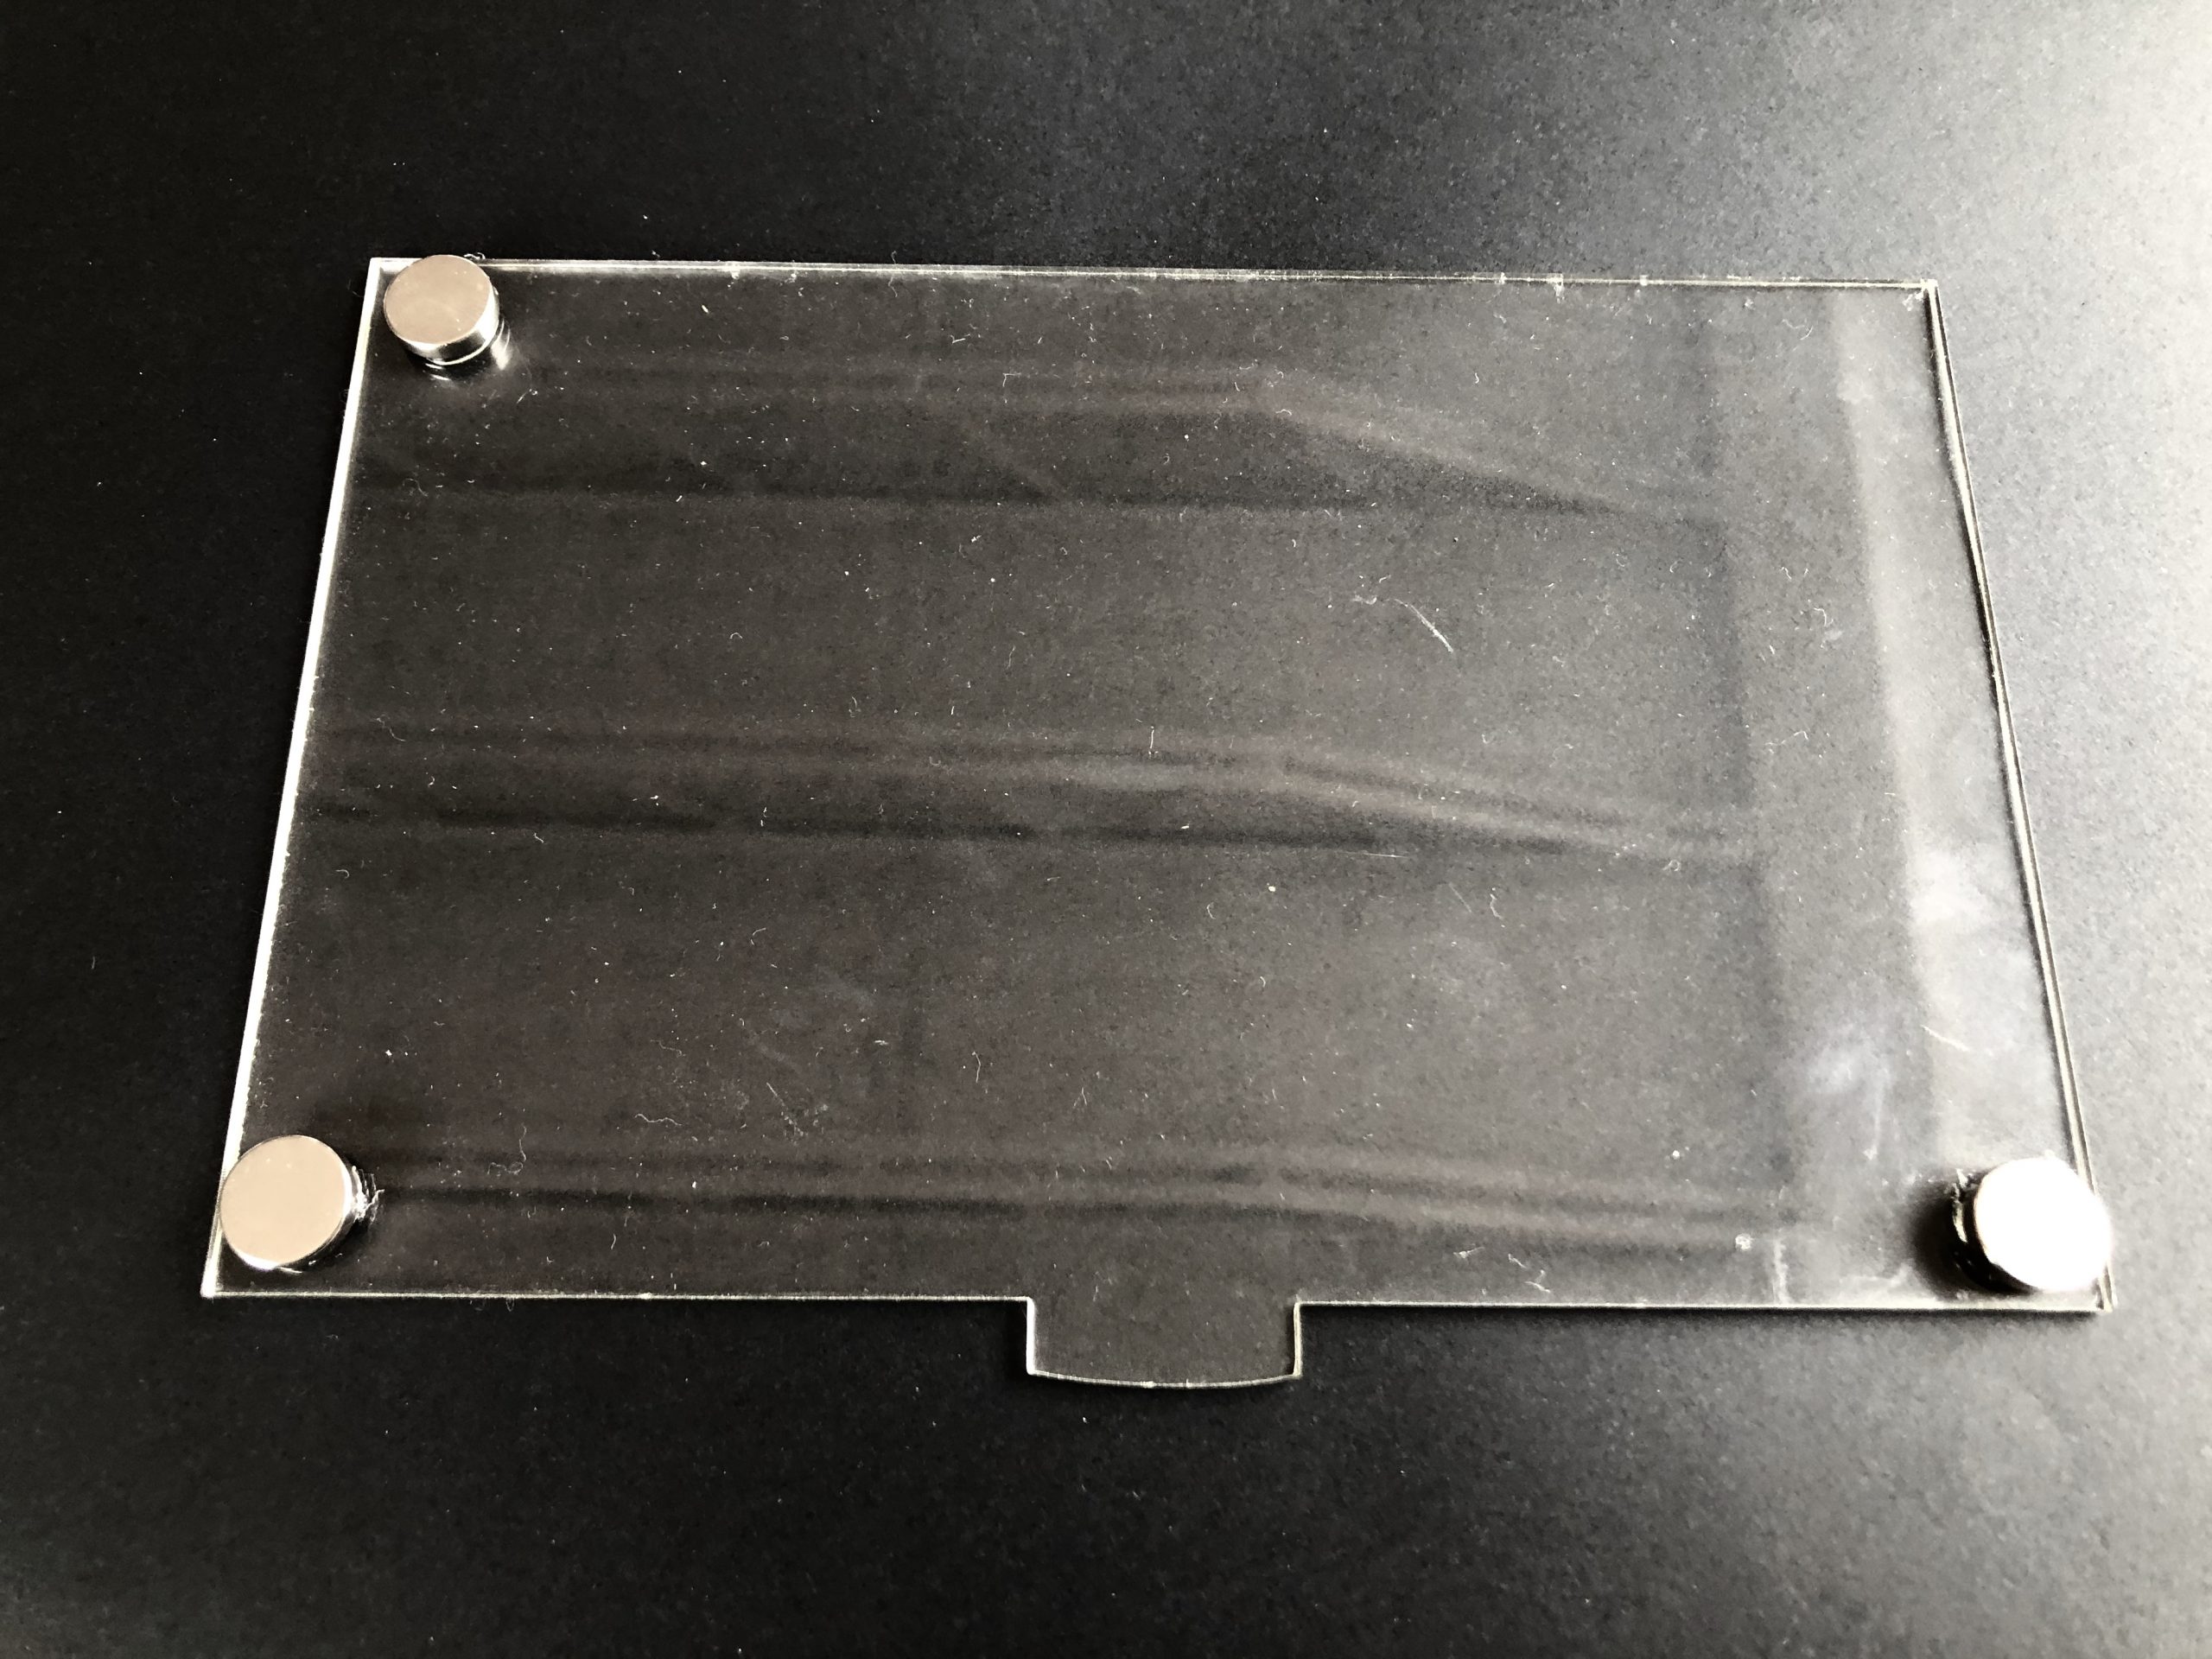
After brainstorming, we sketched out our concept. The form consisted of two offset rectangles, one being made from acrylic and the other of wood. Using magnets, the acrylic rectangle could be removed from the sign so that a customized QR code card could be inserted.  

SIGN 2 IDEATION

For the second sign, we wanted to work with metal. The QR Code could either be engraved directly on the metal or a black material could be applied to metal’s surface to form the code. 

The plan was to laser cut black paint off the metal to reveal the code. A separate plaque could be made to have instructions on how to scan the code.

PRODUCTION

SIGN 1 PRODUCTION

We did not have any prior experience with laminating wood, but we decided to proceed with the technique anyway. After sanding, the block of wood turned out beautifully. 

We then engraved our studio’s title and the QR code scanning instructions on the block of wood. Several passes were needed to darken the lettering.

The finished result after being laser cut.

Acrylic sheets were then laser cut and applied to the sign. Magnets were glued to both of the sheets so that one could be detached from the other. 

We experimented with several light-colored backgrounds to test the limits of the QR code. We discovered that colors in the yellow scale had more difficulty scanning than blues and greens. 

SIGN 2 PRODUCTION

For the second sign, we wanted to laser cut a piece of aluminum to display the QR code. An attempt was made to laser cut a black paint layer off of the aluminum to make the code, but this failed. A strange greenish texture appeared instead of the aluminum. 


We then tried to laser cut black paper off of the metal. This worked, but excess glue and paper needed to be scraped off the surface. 

The scraping process was very meticulous and took a long time. Many of the pieces needed to be re-glued. 

The finished code after being scraped, repaired, and cleaned. 

The metal was then cut and filed.

FINALS

SIGN 1 FINAL

SIGN 2 FINAL