Aniya Alston

The Boombox

ID 105 | 2020

For the first project in ID studio, I was tasked to create a sign that best depicted me as a person. Then I will go on to vacuum form my sign and use it as a representation  for the rest of the work I produce throughout this class. Through this site, I will show my process to reach my final production.

Ideation

A great way to get to know someone or even yourself is to look through your camera roll. While scrolling through my own, almost every other 3 pictures, there are videos of my closest people listening to music. The car was always the most common setting. Listening to music has always been apart of my life and has been the reason most events happen in my life that I cherish. To the right are gif’s of my mom and my sister singing along to songs and dancing.

gif 1
gif 2

Using my love for the radio and music, I decided to make a radio for my sign. This was my best and only true concept because the others I thought about were not powerful enough to make an effective sign that described me as a person. From there, I drew out my concept on paper to get a visual of my concept.

IMG-2688
IMG-2686

Process

I began to work in solid works and created my radio. Instead of going all out and adding various knobs and objects to the radio, I went for a more simplified approach. As seen in my projects prior to this studio, simplicity is my strong suit. Once my sketch was done I sent my file to the cnc machine with a piece of MDF board that was 2″ thick. The actually piece is about 1.5″ thick.

IMG-2689 (1)
IMG-2691 (1)

This is the results of the MDF from the CNC machine. It did pretty well, although,  it did miss the CD slot. So I carved in the slot and carved off the wood in between the “A” and the rectangle.

Production

IMG-2702 (1)
PRODUCTION 2
production 3

After altering the MDF, I took it to the vacuum former. During the first try, the plastic was heated to about 200 degrees which was not enough. the barely clung over top of the mold. It took about three total times of increasing the heat and try again until I reached the final product. The plastic had good elasticity around 280-300 degrees.

Final

Using my last try on the vacuum former, my mold did get stuck in the plastic so I used the chisel to get it out. Then, I cut off the extra background and left behind the radio itself. 

IMG-2699

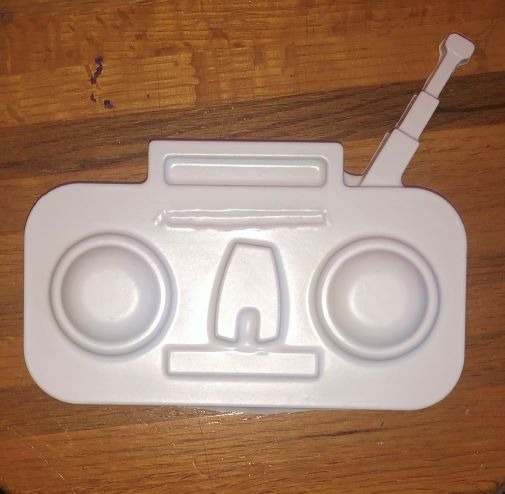
Reflecting on my piece, I would have gave myself more time during the project. Getting sick half way through and at the project’s peak was a big drawback for me. Although, I am proud that I finished the way I did. Also, I would fix the CD slot to be more realistic and increase the size of the whole radio. I feel like there is a more efficient way to do so and that the radio’s size could of been increased some. For a final touch, I was planning on dipping the radio into paint in order to make it more bold.